
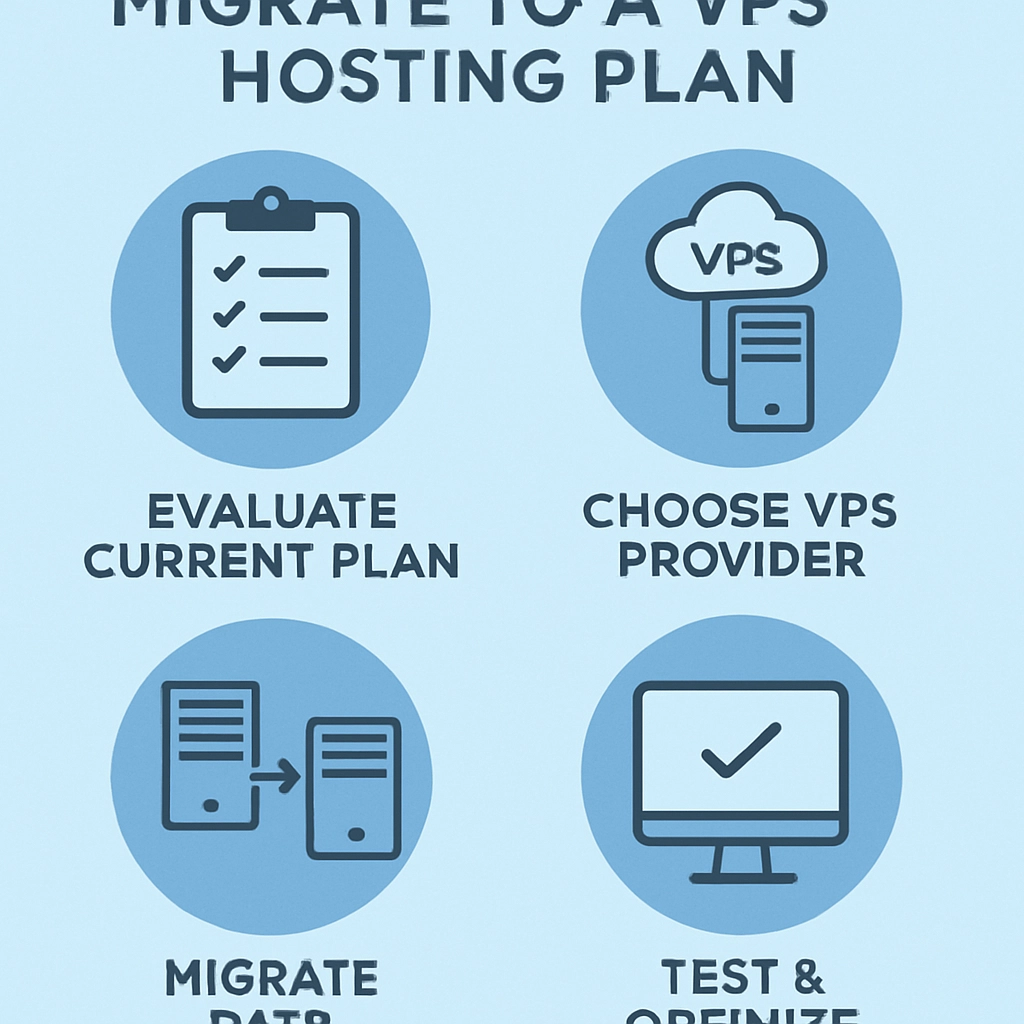
Migrating to a Virtual Private Server (VPS) hosting plan can feel like a daunting task, especially if you’re transitioning from shared hosting or managing your own server for the first time. But fear not! With a little preparation, some guidance, and a sprinkle of patience, you can make the leap to VPS hosting smoothly and successfully. Let’s walk through the process together, shall we?
Understanding VPS Hosting
First, let’s clarify what VPS hosting actually is. A VPS is a virtualized server that mimics a dedicated server within a larger physical server. This means you get your own dedicated resources like RAM, storage, and bandwidth, giving you much more control and flexibility than typical shared hosting plans.
Why should you consider making the switch? If you’re running a resource-intensive website, have higher traffic than before, or need specific software configurations, a VPS can be a game-changer. It allows for better performance, increased security, and the freedom to customize your hosting environment to your heart’s content.
Prepare for Migration
Before you dive headfirst into the migration, it’s essential to gather everything you need. Here’s a short checklist to help you prepare:
-
Backup Your Data: This step is non-negotiable. Back up your entire website, databases, and configuration files. Whether you use a backup plugin or do it manually, ensure you have multiple copies stored safely (offsite and cloud backups are also wise).
-
Choose Your VPS Plan Wisely: Research and select a VPS hosting provider that aligns with your needs and budget. Consider factors like resource allocations, price, customer support, and the scalability of plans.
-
Familiarize Yourself with the VPS Environment: If you’re not used to using a VPS, take some time to familiarize yourself with the server’s operating system (Linux, Windows, etc.) and control panel (such as cPanel or Plesk).
-
Prep Your Web Applications: If you’re using a content management system (CMS) like WordPress, Joomla, or Drupal, check system requirements and prepare your applications for the new environment.
Migration Steps
Once you’re ready to go, follow these steps for a smoother migration:
-
Set Up Your VPS: Install your desired operating system and necessary software (such as web servers, databases, etc.) on your VPS. Most hosting providers offer pre-built images that can simplify this process.
-
Upload Your Files and Databases: Transfer your backup files to your new server. You can use FTP/SFTP for files and command line or tools like phpMyAdmin for databases. Make sure to upload your database to the appropriate location on your VPS.
-
Configuring DNS Settings: As you prepare to make the switch, you’ll need to change your domain’s Domain Name System (DNS) settings. Update the records to point to your new VPS IP address. It’s crucial to note that DNS changes can take anywhere from a few hours to 48 hours to propagate worldwide.
-
Testing Before Going Live: Before pointing your domain to the new VPS, make sure to test your website to ensure everything is working correctly. You can access it using the server’s IP address or a temporary domain.
-
Final Adjustments: After everything is working as expected, it’s time for some fine-tuning. This includes setting up firewalls, ensuring security protocols are in place, and optimizing your server for speed and efficiency.
Go Live!
Once you’re satisfied with your tests, it’s time to switch! Change those DNS settings and sit back as your visitors slowly start to experience your newly migrated site. Don’t forget to monitor website performance closely during this time to ensure that everything runs smoothly.
Post-Migration Checks
After migration, there are a few checks you should perform:
- Error Logs: Keep an eye on your server logs. This can help you catch any error messages or performance issues.
- Backup Regularly: Set up a regular backup plan on your new VPS to avoid any future data loss.
- Performance Monitoring: Use performance monitoring tools to help gauge how your site performs and make adjustments when necessary.
Migrating to a VPS hosting plan can be a little nerve-wracking, but with adequate preparation and a step-by-step approach, it can also be incredibly rewarding. You’ll find that the control and performance you gain is worth the effort. Plus, consider it an opportunity to learn and grow in your web management skills! Embrace the process, keep things organized, and soon, you’ll be reaping the benefits of your new hosting environment. Happy hosting!
Welcome to DediRock, your trusted partner in high-performance hosting solutions. At DediRock, we specialize in providing dedicated servers, VPS hosting, and cloud services tailored to meet the unique needs of businesses and individuals alike. Our mission is to deliver reliable, scalable, and secure hosting solutions that empower our clients to achieve their digital goals. With a commitment to exceptional customer support, cutting-edge technology, and robust infrastructure, DediRock stands out as a leader in the hosting industry. Join us and experience the difference that dedicated service and unwavering reliability can make for your online presence. Launch our website.