
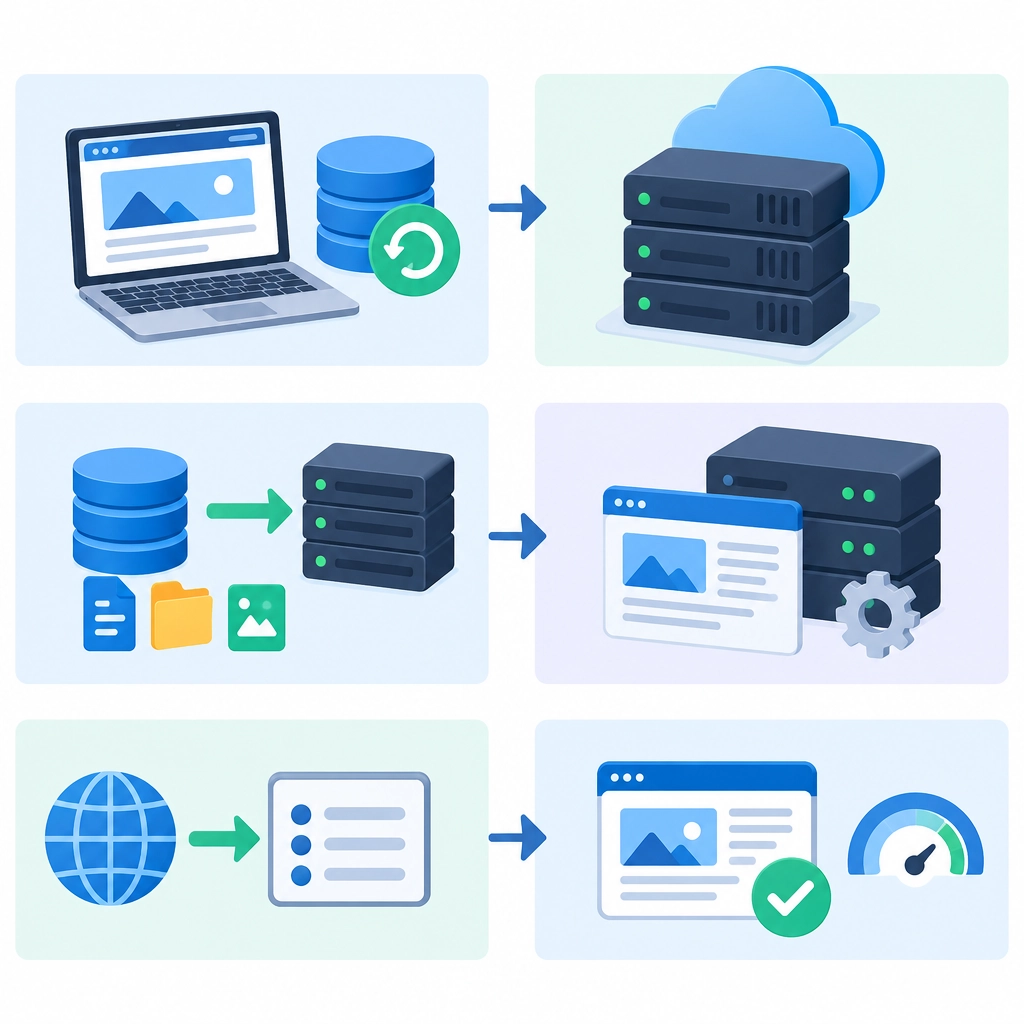
How to Migrate Your Website to a VPS
Moving your website to a virtual private server (VPS) can give you more control, stronger performance, and room to grow. But a migration involves more than copying files: you’ll also need to move your database, configure the server, and make sure visitors can still reach your site.
A little preparation goes a long way. Follow these steps to make the transition smoother and reduce the chance of downtime.
1. Plan the move
Before changing anything, make a list of what your website needs to run. Note its software and versions, programming language, database, scheduled tasks, email setup, and any special services such as caching or image processing.
Check that your new VPS has enough resources for your site, including storage, memory, and processing power. Choose an operating system and hosting setup that support your application. If you’re not comfortable managing a server yourself, look for a managed VPS plan or confirm that support is available.
Also consider when to move. A quiet period—rather than the day of a major launch or promotion—is usually best.
2. Back up your existing website
Create a complete backup before making changes. This should include:
- Website files, including uploads and configuration files
- The database
- Email accounts or messages, if they’re hosted with your current provider
- DNS records and any important server settings
Store a copy somewhere separate from both hosting accounts. Then verify that the backup can be opened and that you know how to restore it. A backup is only useful if it works when you need it.
3. Set up and secure the VPS
Once your VPS is ready, install the software your site depends on: a web server, the right language runtime, a database, and any additional tools. Match the versions used by your current host where possible. A sudden upgrade can introduce compatibility problems.
Before uploading your site, take care of basic security. Update the operating system, use strong passwords or SSH keys, and disable any accounts or services you don’t need. Configure a firewall to allow only essential traffic, such as web connections and secure administration. Set up SSL/TLS so the site can use HTTPS.
If server administration isn’t familiar territory, follow your provider’s documentation or use a control panel rather than improvising on a production server.
4. Transfer the files and database
Copy your site files to the VPS using a secure transfer method such as SFTP or SSH. Keep the original folder structure and pay special attention to hidden files, which may contain important configuration settings.
Next, export the database from your old host and import it into the new server. Create a database user with only the permissions your site requires, then update the application’s configuration with the new database name, username, password, and host.
Check file ownership and permissions after the transfer. Incorrect settings can cause errors—or expose sensitive files—so avoid making everything writable just to get the site working.
5. Test before changing DNS
You can test the new server before pointing your domain to it. Depending on your setup, use a temporary URL, a staging domain, or a local hosts-file change to preview the site from your own computer.
Test more than the homepage. Try logging in, submitting forms, searching, checking checkout flows, and viewing pages with uploaded media. Look for broken links, missing images, unexpected redirects, and errors in server or application logs. If your site sends email, test that too; outbound email often needs separate configuration.
Fix any issues before moving on. Changing DNS while the site is still broken can make troubleshooting harder.
6. Update DNS and monitor the site
When the new version is ready, update your domain’s DNS records to point to the VPS. DNS changes can take time to reach everyone, so some visitors may see the old server while others reach the new one. Keeping the old hosting account active during this period helps prevent disruption.
After the switch, monitor the site closely. Check uptime, performance, error logs, forms, and important transactions. Keep a fresh backup of the VPS, and don’t cancel the old hosting plan until you’re confident the migration is complete.
A successful VPS migration is less about rushing files from one server to another and more about testing each piece along the way. Prepare a reliable backup, verify the new environment before updating DNS, and give yourself time to catch small issues. With that approach, you can move to a VPS with confidence—and a clearer understanding of how your website runs.
Welcome to DediRock, your trusted partner in high-performance hosting solutions. At DediRock, we specialize in providing dedicated servers, VPS hosting, and cloud services tailored to meet the unique needs of businesses and individuals alike. Our mission is to deliver reliable, scalable, and secure hosting solutions that empower our clients to achieve their digital goals. With a commitment to exceptional customer support, cutting-edge technology, and robust infrastructure, DediRock stands out as a leader in the hosting industry. Join us and experience the difference that dedicated service and unwavering reliability can make for your online presence. Launch our website.