
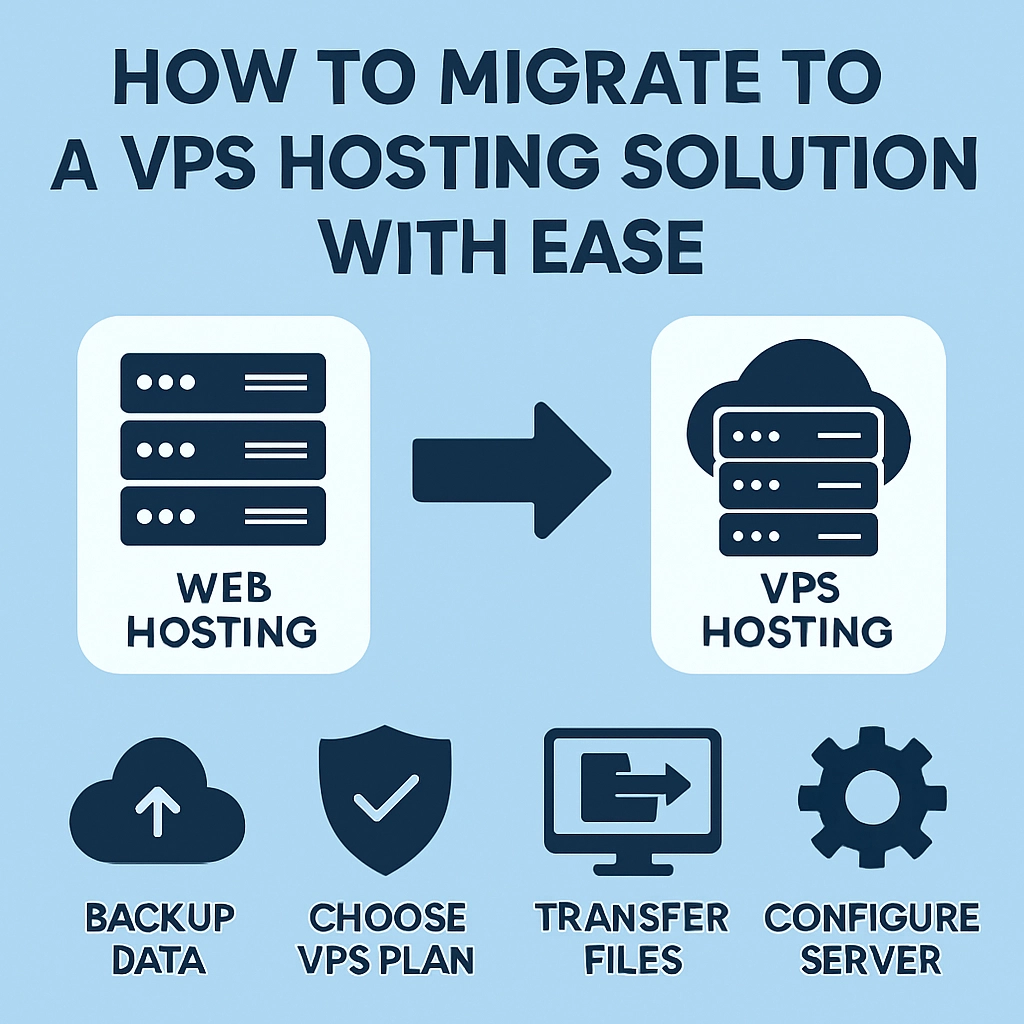
How to Migrate to a VPS Hosting Solution with Ease
Migrating to a Virtual Private Server (VPS) hosting solution can feel like a daunting task. After all, there’s plenty to consider, from planning and preparation to the actual transfer of your data and applications. But don’t fret! With a bit of organization and some helpful tips, you can make this process smooth and straightforward. Let’s dive into how you can migrate to a VPS hosting solution with ease.
Understanding VPS Hosting
Before we get into the nitty-gritty of migration, let’s quickly recap what VPS hosting actually is. A VPS is a virtualized server that mimics a dedicated server within a shared hosting environment. This means you get the advantages of dedicated resources and greater flexibility without having to invest in physical hardware. Sounds great, right? It allows you to have more control over your server, install custom software, and configure it just the way you want.
Step 1: Assess Your Current Hosting Needs
Start by taking stock of your current hosting situation. What applications are you running? How much disk space and bandwidth are you utilizing? Check your current provider’s dashboard for detailed reports or analytics. Understanding your needs will help you select the right VPS plan that caters to your requirements, whether that’s more CPU, RAM, or storage.
Step 2: Choose Your VPS Provider Wisely
Not all VPS providers are created equal. Research the top VPS hosting services that meet your criteria. Look for reviews, uptime guarantees, and customer support options. You’ll want to choose a provider that not only fits your budget but also has good reviews for reliability and support. Make a list of what’s important to you—level of control, ease of use, scalability options, and so on—and don’t jump into a choice without a little due diligence.
Step 3: Backup Your Data
Before you do anything else, back up all your data. Whether it’s files, databases, or emails, having a contingency plan is essential. Use tools like cPanel, FTP clients, or command-line scripts to help with this process. Make sure to store your backups in a safe location, separate from your current hosting environment. This way, you’ll have peace of mind knowing that your data is secure, even if something goes awry during the migration.
Step 4: Prepare Your New VPS
Once you’ve selected your provider and set up your VPS, it’s time to prepare the environment for your applications. This typically involves installing the necessary software stack—like a web server (Apache or Nginx), database management system (MySQL or PostgreSQL), and other dependencies your application needs. Make use of your provider’s guides or community forums to help you configure the server effectively.
Step 5: Migrate Your Data
With your new VPS up and running, you’re ready for the actual migration of data. Depending on what you’re running, this may include moving files via SSH, using backup plugins (for WordPress, for example), or transferring databases through tools like phpMyAdmin.
If you’re migrating a website, a file transfer protocol (FTP) client can help you easily upload your website files to the new server. Ensure that all paths and configurations are updated to point to the new system. It might also be worth testing your site on the new VPS with a temporary domain or IP address to troubleshoot any issues before you go live.
Step 6: Update DNS Records
Now comes the moment of truth—updating your DNS records to point to your new VPS. This step allows your domain to direct traffic to your new server instead of the old one. Keep in mind that DNS changes can take some time to propagate; usually a few hours but sometimes up to 48 hours. Be patient and monitor the traffic to ensure everything’s functioning as expected.
Step 7: Monitor Performance
Once you’re up and running on your VPS, it’s time to pay attention to performance metrics. Use monitoring tools to track server health, resource allocation, and traffic patterns. This can help you identify any bottlenecks or issues as they arise, allowing you to optimize performance further.
And there you have it! While migrating to a VPS hosting solution might seem overwhelming at first, following these organized steps can make the process much easier. Remember to take your time, back everything up, and not to rush the transition. After all, a well-planned migration can lead to a faster, more flexible hosting experience that sets you up for long-term success. Enjoy the newfound control and capabilities that come with your VPS, and embrace the exciting potential that lies ahead!
Welcome to DediRock, your trusted partner in high-performance hosting solutions. At DediRock, we specialize in providing dedicated servers, VPS hosting, and cloud services tailored to meet the unique needs of businesses and individuals alike. Our mission is to deliver reliable, scalable, and secure hosting solutions that empower our clients to achieve their digital goals. With a commitment to exceptional customer support, cutting-edge technology, and robust infrastructure, DediRock stands out as a leader in the hosting industry. Join us and experience the difference that dedicated service and unwavering reliability can make for your online presence. Launch our website.