
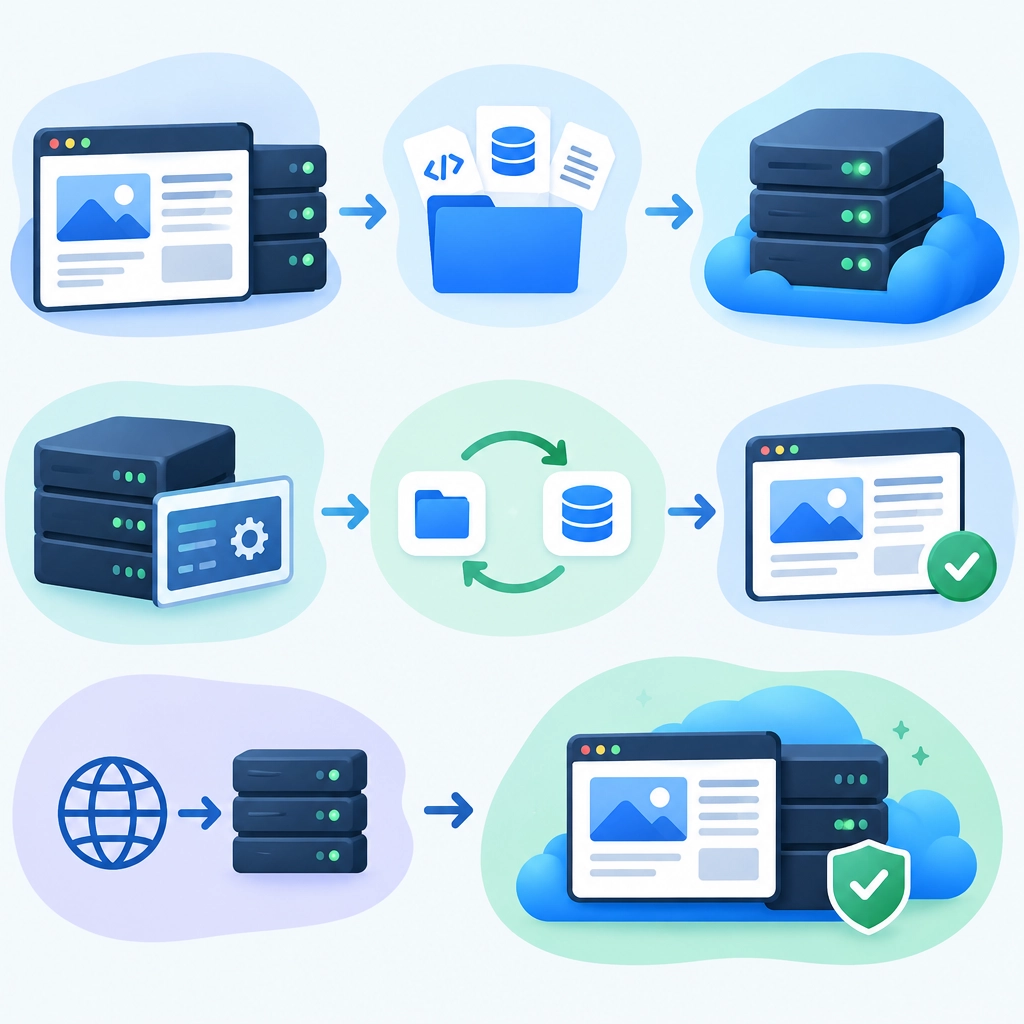
How to Move Your Website to a VPS Without the Headaches
Moving your website to a virtual private server (VPS) can feel like a big leap. You’re trading the simplicity of shared hosting for more control, better performance, and room to grow—but the thought of downtime, broken pages, or lost emails can make anyone hesitate.
The good news? A smooth migration is mostly about preparation. With a clear plan, you can move your site without turning the process into a late-night troubleshooting marathon.
Start with a little server homework
Before choosing a VPS, take stock of what your website actually needs. Check your current hosting plan for storage use, monthly traffic, software versions, and any special requirements such as a particular PHP version, database, or background task.
Then choose a VPS that comfortably supports those needs. A small site may not require much, but avoid picking a server with the bare minimum if you expect traffic to grow. Also consider how you’ll manage the server. If you’re not comfortable handling updates, security, and server settings yourself, a managed VPS can be worth the extra cost.
Make a complete backup
Before changing anything, create a fresh backup of your website files and database. If your host provides a backup tool, use it—but keep a separate copy somewhere outside the hosting account, too.
For a typical website, you’ll need:
- Site files, including uploads and configuration files
- A database export
- Email data, if your current host also handles email
- Notes on DNS records and current settings
Don’t assume a backup is usable just because it exists. If possible, check that the archive opens and the database file isn’t empty. A backup is your safety net, so this is not the moment to skip a few checks.
Set up the VPS before you point your domain
Get the new server ready while your current site is still live. Install the web server, database software, and programming language your site needs. Create the database and user, upload your site files, and import the database.
You’ll also want to configure basic security. Use strong passwords, apply available updates, and set up a firewall. If you’re unsure which settings are appropriate, follow your VPS provider’s documentation or ask for help rather than copying random commands from an old forum post.
At this stage, the site may not be publicly accessible through its usual domain—and that’s fine. You can often preview it using a temporary URL or by editing your computer’s local hosts file. This lets you test the new server without sending visitors there.
Test the site carefully
A site that loads is not necessarily a site that works. Click through key pages and test the details that matter: forms, search, logins, checkout, images, downloads, and any integrations with outside services.
Pay special attention to database-driven pages and website-specific configuration files. A small difference in server paths or software versions can cause errors that weren’t visible on the old host.
If your website uses caching, temporarily clear or disable it during testing. Otherwise, you might be looking at an old version of a page and miss a problem—or think a fix didn’t work when it did.
Plan the DNS switch
Once testing looks good, update your domain’s DNS records to point visitors to the VPS. If possible, lower the DNS time-to-live (TTL) a day or two before the move. This can help changes spread more quickly, though it doesn’t guarantee that every visitor will see the new server at the same time.
Keep the old hosting account active during the transition. Some visitors may continue reaching it while DNS changes propagate. Avoid making major content changes during this window, or make sure you know how to sync them to the new server.
Also, check email before changing DNS. If your domain’s email is hosted separately, preserve the existing mail records. A website migration should not accidentally interrupt your inbox.
Keep an eye on things after launch
After the switch, visit the site from different devices and check for broken pages, missing images, or browser security warnings. Review error logs and confirm that analytics, backups, and scheduled tasks are working. If you use an SSL certificate, make sure it’s installed correctly on the VPS and that your site redirects to HTTPS as expected.
Don’t cancel your old hosting immediately. Give the new server a few days of stable operation—and confirm email and recent content are safe—before closing the old account.
A VPS migration doesn’t have to be dramatic. Build the new environment first, test before switching, and keep a reliable backup within reach. With those basics in place, moving your website becomes less of a leap into the unknown and more of a carefully planned handoff.
Welcome to DediRock, your trusted partner in high-performance hosting solutions. At DediRock, we specialize in providing dedicated servers, VPS hosting, and cloud services tailored to meet the unique needs of businesses and individuals alike. Our mission is to deliver reliable, scalable, and secure hosting solutions that empower our clients to achieve their digital goals. With a commitment to exceptional customer support, cutting-edge technology, and robust infrastructure, DediRock stands out as a leader in the hosting industry. Join us and experience the difference that dedicated service and unwavering reliability can make for your online presence. Launch our website.