
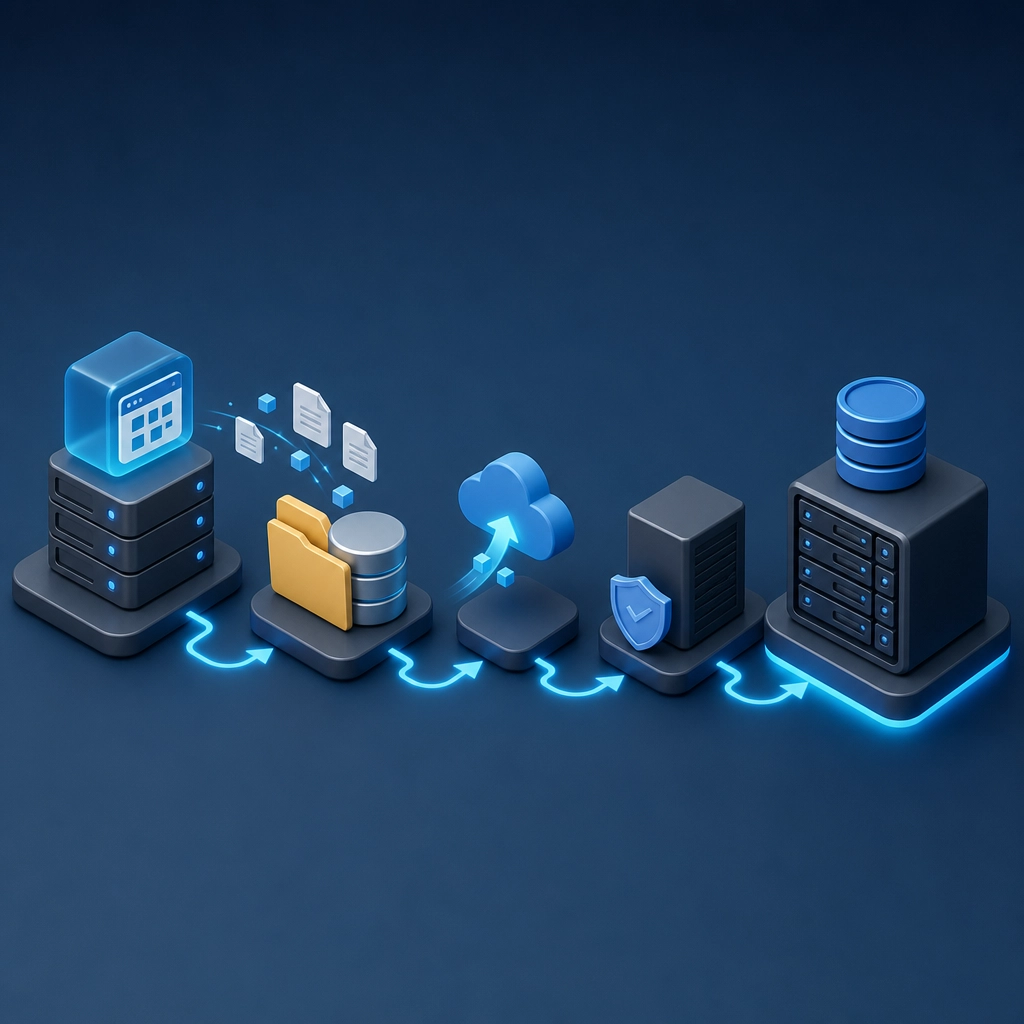
How to Migrate Your Application to a Storage VPS
Are you thinking about migrating your application to a Storage VPS (Virtual Private Server)? Well, you’re in the right place! A Storage VPS provides the perfect combination of flexibility, reliability, and scalability, especially when your application’s data storage requirements are growing. Whether you’re a startup finding your feet or an established business looking to optimize your resources, a Storage VPS can be a game-changer. Let’s dive into how to smoothly transition your application to this robust platform.
What is a Storage VPS?
Before we jump into the nitty-gritty of migration, let’s clarify what a Storage VPS actually is. In layman’s terms, it’s a type of VPS optimized specifically for data storage. Unlike a standard VPS, which may include CPU-intensive resources necessary for web hosting or application processing, a Storage VPS focuses on providing a large amount of disk space and efficiently managing data. It’s particularly useful for applications like content management systems, large database handling, and even media libraries.
Why Migrate?
So why consider migration? Well, here are a few solid reasons:
- Cost Efficiency: You pay for what you need. As your application grows, you can scale your resources without overspending.
- Increased Performance: A dedicated environment minimizes bottlenecks, ensuring that your application runs smoothly.
- Enhanced Security: VPS solutions often come with solid security features that can protect your data better than shared hosting options.
Now that you’re aware of the benefits, let’s get down to the practical steps of migrating your application.
Step 1: Assess Your Current Environment
Take a thorough inventory of your existing application’s setup. Document the following:
- Size of your current storage requirements
- Database schemas and sizes
- Any third-party integrations
- System dependencies and configurations
By having a complete understanding of your current environment, you can identify what you need to replicate or improve in your new Storage VPS.
Step 2: Choose the Right VPS Provider
You have a lot of options when it comes to VPS providers, so take your time to research. Look for these key features:
- Storage Options: Ensure that they offer enough storage space for your future needs.
- Backups: Automatic backups can save you a lot of headaches down the line, so check if this is included.
- Support: Good customer support can be invaluable if you run into issues during or after migration.
- Performance Metrics: Examine their uptime records and speed benchmarks.
Step 3: Set Up Your New VPS
Once you’ve picked a provider and signed up for your Storage VPS, the next step is to set it up. Most providers will have a friendly control panel where you can configure settings. Install operating systems, security patches, and other software dependencies your application needs. This can include web servers, database management systems, and language runtimes — basically, everything that keeps your app running.
Step 4: Transfer Your Data
Now comes the fun part — moving your data. There are various ways to do this, and the method you choose will depend on your specific application and set-up. Here are a few options:
- File Transfer Protocol (FTP): Use FTP to transfer files from your existing server to your new VPS.
- Database Migration Tools: Most databases come with built-in tools to export and import data. Tools like phpMyAdmin for MySQL databases are user-friendly options.
- rsync: This command-line tool is great for transferring large amounts of data while preserving file permissions, timestamps, and other attributes.
Step 5: Test, Test, Test
After your data is migrated, don’t just assume everything’s in working order. Conduct a series of tests:
- Check that all files have transferred correctly.
- Validate your database connections.
- Ensure your application runs as expected, without any hiccups.
Testing is crucial because, at this stage, you can still roll everything back if you encounter issues.
Step 6: Go Live
Once you’re satisfied with the testing outcomes, it’s time to point your domain to your new VPS. Make sure to monitor your application closely for a few days as users start interacting with it. Keep an eye out for anything out of the ordinary.
Migration Doesn’t Have to Be Scary
Migrating your application to a Storage VPS might seem daunting at first, but by following these steps, the process can become much more manageable. Embrace this opportunity to not only move your application but also to optimize it for better performance and efficiency. As you settle into your new infrastructure, remember that locking in on best practices and continuous monitoring can truly ensure that your application flourishes in its new home. Happy migrating!
Welcome to DediRock, your trusted partner in high-performance hosting solutions. At DediRock, we specialize in providing dedicated servers, VPS hosting, and cloud services tailored to meet the unique needs of businesses and individuals alike. Our mission is to deliver reliable, scalable, and secure hosting solutions that empower our clients to achieve their digital goals. With a commitment to exceptional customer support, cutting-edge technology, and robust infrastructure, DediRock stands out as a leader in the hosting industry. Join us and experience the difference that dedicated service and unwavering reliability can make for your online presence. Launch our website.