
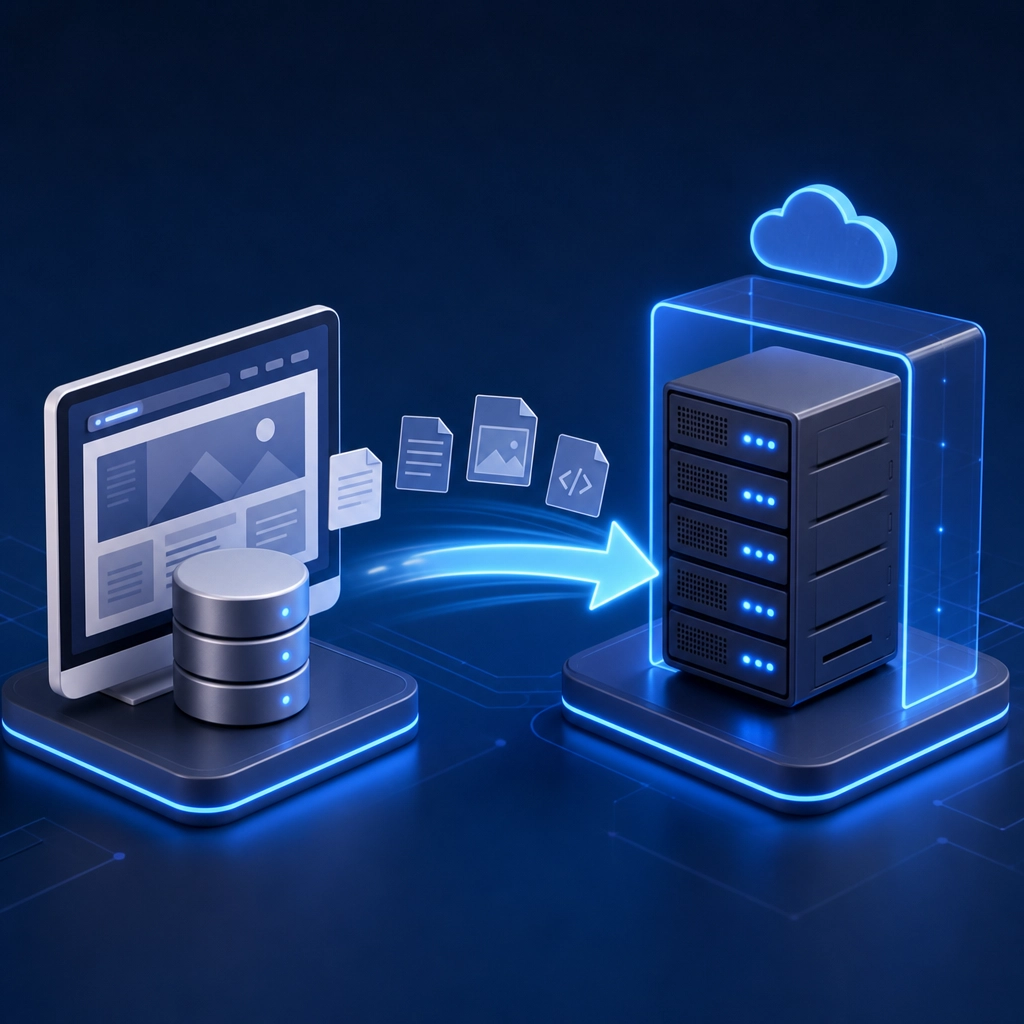
How to Migrate Your Website to VPS Hosting
If you’re considering migrating your website to a Virtual Private Server (VPS) hosting solution, you’re probably looking for improved performance, security, and control over your online presence. VPS hosting is a great step up from shared hosting, giving you dedicated resources while being more affordable than dedicated servers. Though the migration process can seem daunting, fear not! We’ll walk through how to make the transition as smooth as possible.
Why Choose VPS Hosting?
Before we dive into the migration process, let’s talk about why you might want to switch to VPS hosting. Shared hosting can be limiting, especially if your website is growing. With VPS, you get:
- Dedicated Resources: Unlike shared hosting, where you share resources with multiple sites, VPS gives you dedicated portions of CPU, RAM, and disk space.
- Improved Performance: Increased resources lead to faster load times and a smoother experience for your visitors.
- Better Security: VPS provides a higher level of security, protecting your site from potential threats.
- Customization: You can install any software and applications that you need, which is not always an option with shared hosting.
With all these perks in mind, let’s get into how to migrate your website to a VPS hosting environment.
1. Choose the Right VPS Hosting Provider
The first step in your migration journey is selecting a VPS provider that fits your needs. Look for features such as:
- Server location
- Customer support
- Pricing and scalability
- Backups and data recovery options
- Reliability and uptime guarantees
Research different providers, read reviews, and see which one feels right. Some popular options include DigitalOcean, Linode, and Vultr, among others.
2. Back Up Your Website
Before making any changes, it’s essential to back up your current website files and databases. This safety net ensures that you can restore everything if something goes awry during the migration process.
Depending on your current hosting setup, you can:
- Use cPanel or another control panel to create backups of your files and databases.
- Use FTP (File Transfer Protocol) to download your files locally to your computer.
- Export your database using phpMyAdmin or similar tools.
Having a complete backup will provide peace of mind as you forge ahead.
3. Set Up Your VPS
Once you’ve selected your VPS provider, it’s time to set up your server. Most VPS providers will give you a choice of operating systems—common ones include Ubuntu, CentOS, or Debian. You’ll also want to configure your server environment based on the needs of your website.
If you’re using a content management system (CMS) like WordPress, you’ll need to install the necessary software components, such as:
- A web server (like Apache or Nginx)
- A database server (like MySQL or MariaDB)
- PHP or other programming languages, depending on your setup.
This can sound technical, but many hosting providers offer easy installation scripts or tutorials to guide you through the process.
4. Transfer Your Website Files and Database
Now it’s time to move your website files from your old hosting environment to your VPS. You can do this through FTP or using command-line tools like scp or rsync, depending on your comfort level.
For your database, you’ll want to follow these steps:
- Import your database backup to the new server (using phpMyAdmin or a command-line tool).
- Make any necessary adjustments to your configuration files (like
wp-config.phpfor WordPress) to connect to your new database.
It’s important to ensure that everything transfers correctly, so keep an eye out for any errors during this process.
5. Update DNS Settings
With your website files and database transferred successfully, you’ll need to update your domain’s DNS settings to point to your new VPS server. This typically involves updating the A record with your domain registrar to reflect the new server’s IP address. Changes to DNS settings can take anywhere from a few minutes to 48 hours to propagate, so be patient.
6. Test Your Site
Before you announce the big move to your users, make sure to conduct thorough testing on your new VPS. This testing includes checking page load speeds, ensuring that all functionalities work as expected, and confirming that any plugins or applications are behaving correctly.
Use tools like Google PageSpeed Insights or GTmetrix to check performance. Make sure to look for any broken links or missing assets.
7. Keep Monitoring
After your migration is complete and your site is live on the new VPS, keep an eye on its performance. Regular monitoring ensures that you can troubleshoot any issues quickly. Also, back up your new server regularly to avoid potential data loss in the future.
Migrating to VPS hosting can be a game-changer for your website. With the right preparation and tools, you can enjoy the benefits of increased speed, security, and control over your web space. So jump in, give it a try, and watch your online presence thrive! The hard work will definitely pay off when you see your site running better than ever.
Welcome to DediRock, your trusted partner in high-performance hosting solutions. At DediRock, we specialize in providing dedicated servers, VPS hosting, and cloud services tailored to meet the unique needs of businesses and individuals alike. Our mission is to deliver reliable, scalable, and secure hosting solutions that empower our clients to achieve their digital goals. With a commitment to exceptional customer support, cutting-edge technology, and robust infrastructure, DediRock stands out as a leader in the hosting industry. Join us and experience the difference that dedicated service and unwavering reliability can make for your online presence. Launch our website.