
How to Set Up a Mail Server on Your VPS (Postfix + Dovecot)
Setting up your own mail server may sound intimidating, but with the power of a Linux VPS, Postfix, and Dovecot, it becomes totally doable. In this tutorial, we’ll walk you through creating a secure and functional email server on your VPS using Ubuntu.

“Running your own mail server gives you complete control over deliverability, privacy, and your domain’s reputation.”
Step 1: Update Your VPS
Start by updating your packages:
sudo apt update && sudo apt upgrade -yStep 2: Install Postfix
Install Postfix to handle the sending and receiving of mail:
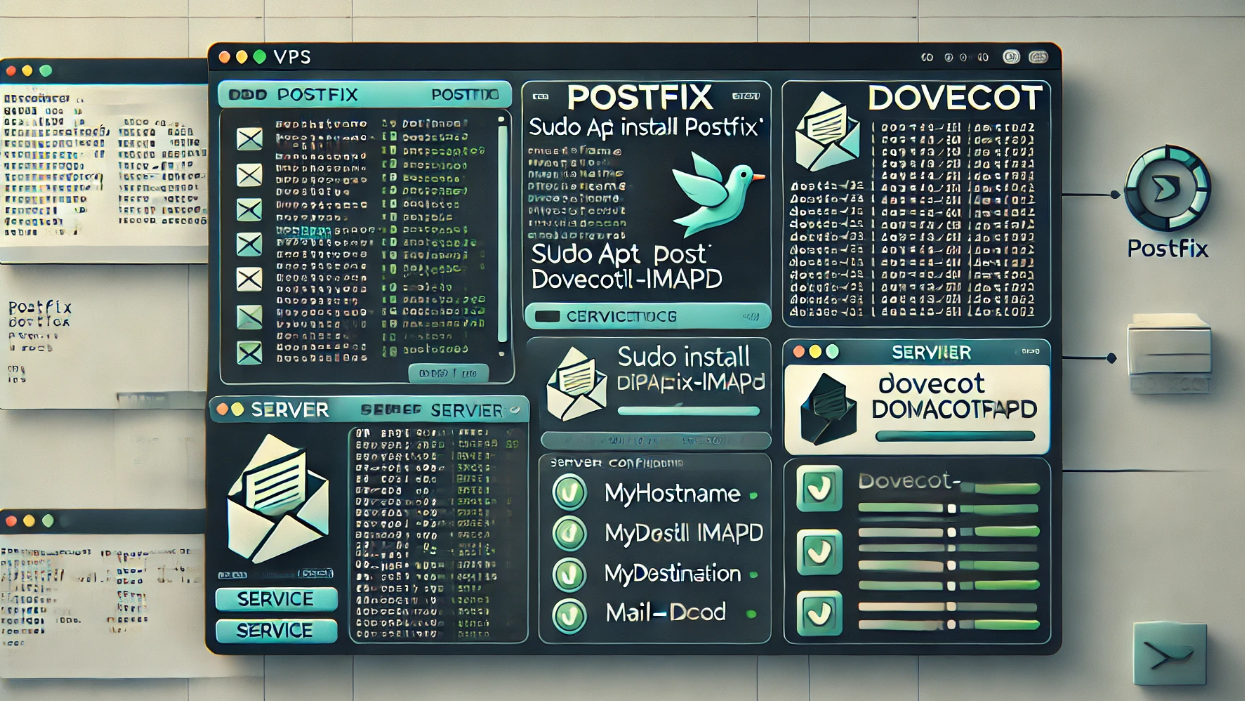
sudo apt install postfixDuring installation, choose “Internet Site” and enter your domain (e.g., mail.yourdomain.com).
Step 3: Install Dovecot
Dovecot manages mailbox access via IMAP/POP3:
sudo apt install dovecot-core dovecot-imapdEnable and start Dovecot:
sudo systemctl enable dovecot
sudo systemctl start dovecot
Step 4: Secure with SSL/TLS
Use Let’s Encrypt to add SSL support:
sudo apt install certbot
sudo certbot certonly --standalone -d mail.yourdomain.com
Then configure Postfix and Dovecot to use the certificates in their config files.
Step 5: Configure Mailboxes
Create a mail user and directories:
sudo adduser mailuser
mkdir -p /home/mailuser/Maildir
Edit Postfix’s main.cf and Dovecot’s 10-mail.conf to support Maildir format.
Step 6: Test Your Server
Send a test message:
echo "Test message" | mail -s "Hello from VPS" [email protected]Use mail clients like Thunderbird or Outlook to connect with IMAP using your domain and user credentials.
“A properly configured VPS mail server can match the reliability of big-name providers—without the monthly fees.”
Final Tips
- ✅ Use SPF, DKIM, and DMARC to boost deliverability
- ✅ Set reverse DNS (PTR record) with your VPS provider
- ✅ Regularly monitor logs (
/var/log/mail.log) for issues - ✅ Consider using Mailcow or iRedMail for an all-in-one stack