
cPanel’s File Manager is a powerful, user-friendly tool that allows you to upload, edit, organize, and manage files on your server without needing FTP access. This makes it an ideal solution for website owners who want to manage their site files directly from their cPanel dashboard. In this guide, we’ll walk through the basics of navigating File Manager, uploading and organizing files, editing files, and using file compression and extraction for backups.
What is cPanel File Manager?
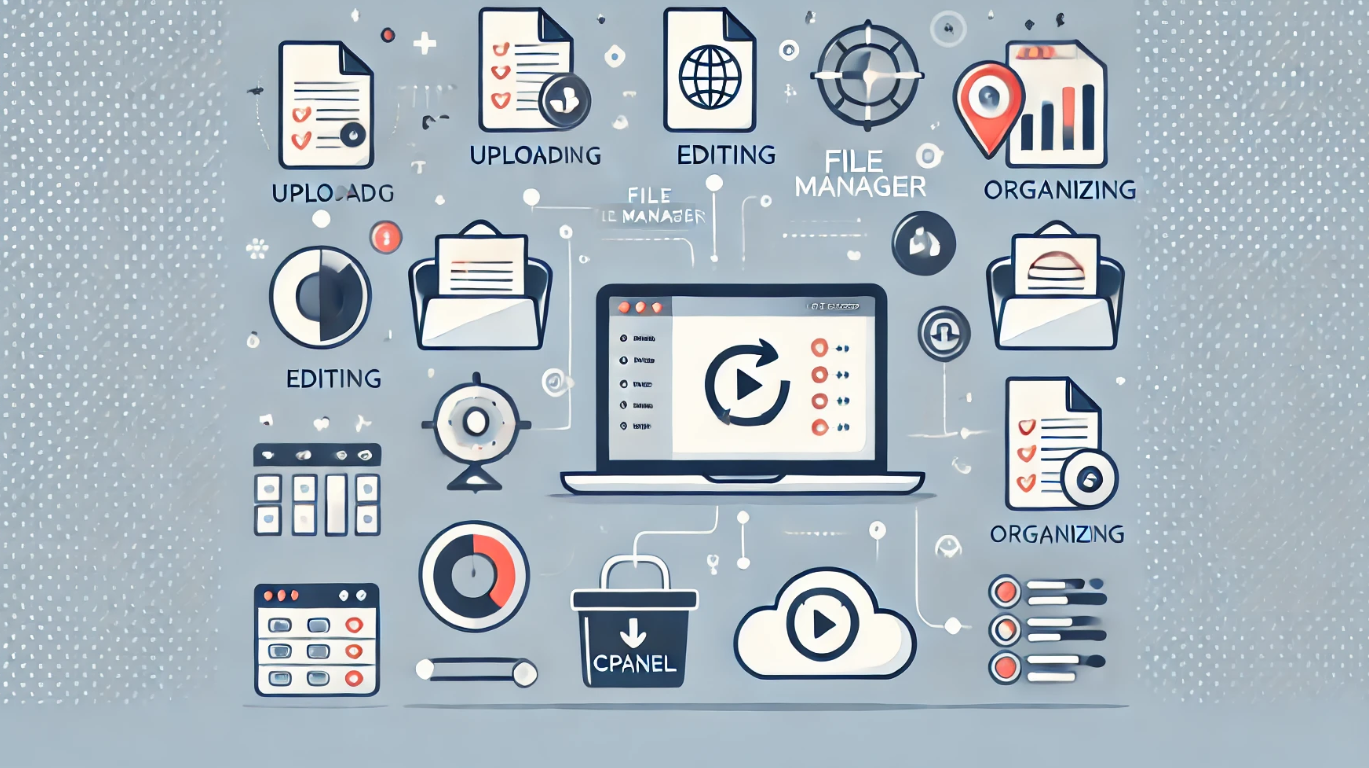
File Manager in cPanel is a browser-based tool that allows users to manage files on their server. With it, you can:
- Upload and download files
- Organize files into folders
- Edit HTML, CSS, and other types of files directly
- Compress files into archives for backup
- Extract compressed files when needed
File Manager is an all-in-one solution for managing website files, offering a convenient alternative to FTP for file operations.
1. Navigating the File Manager and Understanding Its Layout
To access File Manager, log in to your cPanel dashboard and look for the File Manager icon under the Files section.
File Manager Layout
The File Manager interface consists of several key areas:
- Folder Sidebar (left side): Shows the directory structure of your server. You can navigate through folders like
public_html(the root directory for website files),home, and other system folders. - Main Panel (right side): Displays the contents of the selected folder, showing files and subfolders. You can click on files or folders to open, edit, or manage them.
- Toolbar (top): Provides quick access to essential file operations, such as Upload, Download, Edit, Compress, and Delete.
Key Directories
- Home Directory: The root folder for your account, where all files are stored.
- public_html: The root directory for your website files. Files placed here are publicly accessible and can be viewed on the internet.
- tmp: Stores temporary files.
- mail: Contains email files if you use cPanel’s email services.
Tip: Avoid making changes in system folders if you’re unsure of their purpose, as this could affect your website’s functionality.
2. Uploading and Organizing Files in Different Directories
File Manager makes it easy to upload and organize files into different folders on your server.
Uploading Files
- Navigate to the Desired Directory: Open the directory where you want to upload your files, such as
public_htmlif you’re uploading website files. - Click Upload: In the toolbar, click the Upload button.
- Select Files to Upload: A new window will open, allowing you to select files from your computer. Drag and drop files or click Select File to choose files manually.
- Wait for Upload Completion: Once uploaded, the files will appear in your selected directory.
Tip: If you’re uploading a large number of files, consider compressing them into a ZIP file first, then uploading and extracting it in File Manager to save time.
Organizing Files
File Manager allows you to create folders and move files around to keep your site organized.
- Creating Folders: To create a new folder, click + Folder in the toolbar. Name the folder and select the directory where you want it placed.
- Moving and Copying Files: To move or copy a file, right-click the file and select Move or Copy. Enter the destination path to move or copy the file to another folder.
- Renaming Files: Right-click the file and choose Rename. Enter the new name and press Enter to save.
Example: You might organize your website files by placing images in an images folder, stylesheets in a css folder, and scripts in a js folder within public_html.
3. Editing Files Directly in File Manager
File Manager allows you to edit text-based files, such as HTML, CSS, and PHP, directly from the browser. This is especially helpful for making quick changes without using an external editor.
Editing Files
- Select the File: Navigate to the file you want to edit, such as
index.html. - Click Edit: Right-click the file and select Edit or choose Edit from the toolbar.
- Edit and Save: The file will open in a new tab where you can make changes. Once done, click Save Changes to apply the edits.
Text Editor vs. Code Editor: File Manager offers two editing options—Edit (basic text editor) and Code Editor (optimized for HTML, CSS, and other code with syntax highlighting). Choose Code Editor for a better experience when editing code.
Common Use Cases
- Updating HTML or CSS: You might want to make quick edits to your website’s HTML or CSS directly if you’re testing small design changes.
- Editing Configuration Files: Files like
.htaccessare often edited directly to change server settings or manage redirects.
Tip: Always back up files before making significant edits to avoid accidental loss of content.
4. Using File Compression and Extraction Tools for Backups
File compression and extraction tools in File Manager are useful for managing multiple files, creating backups, and reducing storage space.
Compressing Files
- Select Files/Folders to Compress: Select the files or folders you want to compress.
- Click Compress: In the toolbar, click Compress and choose the format (ZIP, TAR, GZIP, etc.).
- Download the Archive: Once compressed, you can download the file for backup purposes.
Benefits of Compression: Compressing files reduces storage usage, simplifies file organization, and makes transferring multiple files faster.
Extracting Files
- Upload or Select a Compressed File: If you’re working with an uploaded archive, locate the file in File Manager.
- Click Extract: Right-click the file and select Extract from the menu. Choose the destination directory where you want the files to be extracted.
Example: Compress website files into a ZIP file and download it as a backup. Later, you can extract the ZIP file in File Manager if you need to restore or relocate your site.
Tip: For regular backups, it’s best to compress and download your entire public_html directory periodically. This allows you to restore your website if you encounter issues or data loss.
Summary: Why Use cPanel File Manager?
cPanel File Manager provides a simple and efficient way to manage files directly on your server. Here’s a quick recap of its key benefits:
- Ease of Use: No need for FTP; you can manage all files from one convenient interface.
- Direct Editing: Make quick updates to HTML, CSS, and other files right from your browser.
- File Organization: Create, move, and organize folders to keep your website files structured.
- Compression Tools: Backup and restore files with ease using compression and extraction features.
With cPanel’s File Manager, website owners can take full control of their file management, even without extensive technical experience. Whether you’re uploading new content, organizing files, editing code, or backing up your site, File Manager provides the tools you need to keep your website running smoothly.