
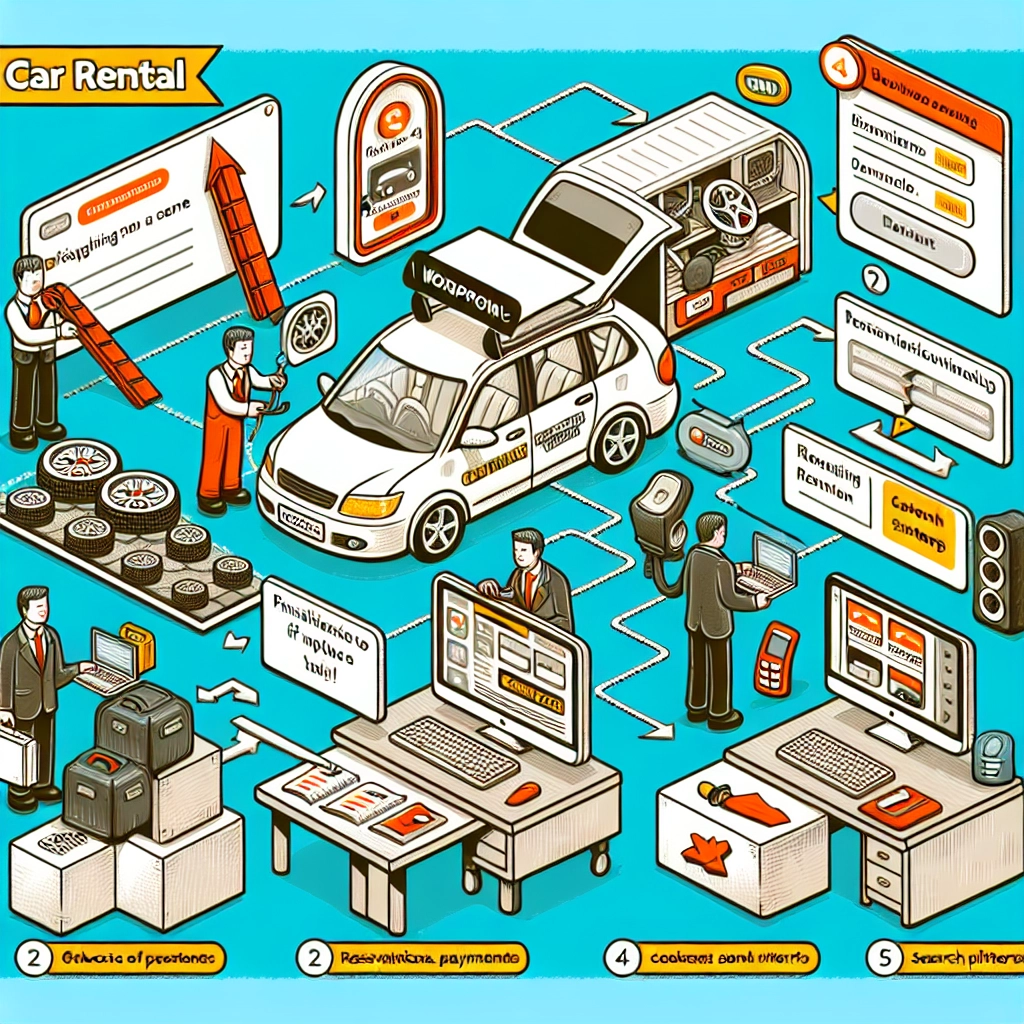
Running a car rental business without a professional website can make operations cumbersome. A good website streamlines your processes, allowing customers to easily browse your vehicle offerings and make reservations.
This guide details how to create a fully functional car rental website using WordPress, highlighting essential steps that cover everything from setup to customer engagement.
Why Build a Car Rental Website with WordPress?
Having a website centralizes your operations, reducing the confusion that often comes from managing multiple customer inquiries through calls and emails. A well-designed website allows customers to view your fleet, compare rental options, and make bookings anytime, enhancing their overall experience and visibility of your business.
Step 1: Choose Your Website Builder
For creating your car rental site, WordPress is recommended due to its flexibility and vast plugin library, enabling you to customize your site effectively. WordPress.org is the ideal choice for a self-hosted site, offering freedom for customizations that aren’t available on WordPress.com.
Step 2: Set Up Your Website Hosting
You will need a domain name for your site, which serves as your online address, and reliable web hosting to ensure your site is accessible at all times. It’s advised to choose a hosting provider known for good uptime and performance, such as Bluehost, which often offers discounts for beginners.
Step 3: Install WordPress
Upon signing up for hosting, WordPress can be automatically installed. Follow the setup wizard to configure basic settings for your new car rental website.
Step 4: Select a WordPress Car Theme
Choosing the right theme for your website is crucial. Look for themes tailored for automotive websites that support features such as vehicle listings and showcases. Many themes provide customization options to match your branding and make your content visually appealing.
Step 5: Create a Custom Home Page
Instead of displaying blog posts, customize your homepage to present essential information about your services, including a showcase of your vehicles and customer testimonials to build trust.
Step 6: Add More Pages
Additional pages for detailed vehicle descriptions, pricing, FAQs, and policies should be included to inform customers thoroughly. Each page should be easy to navigate.
Step 7: Add a Contact Us Form
Integrate a contact form using a plugin like WPForms. This allows customers to easily reach out with inquiries, which can enhance customer satisfaction.
Step 8: Add a Click-to-Call Button
Include a click-to-call button for instant contact, facilitating immediate communication, especially for urgent inquiries.
Step 9: Accept Online Reservations
To allow customers to book online, consider using a dedicated plugin like VikRentCar. This will enable you to set up vehicle availability, pricing, and booking processes tailored to your business needs.
Step 10: Create a Stunning Vehicle Display
Utilize high-quality images of your fleet to create an attractive display. A gallery or slider can enhance the user experience, ensuring that the website runs smoothly without slowing down due to large image files.
Step 11: Guide Customers to Your Door
Adding a Google Map on your site helps customers locate your business easily and can enhance their overall experience.
Step 12: Showcase Your Rental Options
Be transparent about your pricing and options, providing a clear list of packages and any additional fees. A pricing table can help in displaying this information effectively.
Step 13: Display Customer Reviews
Utilizing a testimonials plugin can help display customer reviews on your site, which is beneficial in building credibility and trust.
Step 14: Create a Navigation Menu
An organized navigation menu is essential for usability, helping customers to find necessary information quickly on your website.
Step 15: Optional – Add Social Media Feeds
Integrating your social media feeds can keep your website dynamic and engaging for visitors, driving more traffic to your social platforms.
Step 16: Optional – Publish Valuable Content
Starting a blog can be a great strategy for showcasing your expertise and attracting new customers, providing them insights into the car rental industry.
Step 17: Optional – Use FOMO to Drive Reservations
Fear Of Missing Out (FOMO) can be a powerful motivator. Plugins like TrustPulse can help display real-time updates on bookings, encouraging visitors to make reservations promptly.
Bonus Tips for Growth
Once your website is up and running, consider SEO optimization, improving site speed, and tracking user behavior to increase traffic and conversions.
By following these steps, you can effectively create a car rental website that is not only visually appealing but also functional, ultimately leading to business growth and customer satisfaction.
Welcome to DediRock, your trusted partner in high-performance hosting solutions. At DediRock, we specialize in providing dedicated servers, VPS hosting, and cloud services tailored to meet the unique needs of businesses and individuals alike. Our mission is to deliver reliable, scalable, and secure hosting solutions that empower our clients to achieve their digital goals. With a commitment to exceptional customer support, cutting-edge technology, and robust infrastructure, DediRock stands out as a leader in the hosting industry. Join us and experience the difference that dedicated service and unwavering reliability can make for your online presence. Launch our website.