
️ Step-by-Step Guide for Setting Up CWP (CentOS Web Panel) with Security Tips
Learn how to install CentOS Web Panel (CWP) and apply essential security configurations for a secure and efficient server environment.
Introduction to CWP
CentOS Web Panel (CWP) is a free control panel that simplifies server management for web hosting.
It offers features like website hosting, email setup, database management, and security configurations.
Proper installation and security hardening are crucial to ensure performance and protection from potential threats.
⚙️ 1. Prerequisites for Installing CWP
- Operating System: CentOS 7/8, Rocky Linux, or AlmaLinux (clean install recommended)
- RAM: Minimum 1 GB (2 GB+ recommended)
- CPU: 1 Core (2+ cores recommended)
- Disk Space: 10 GB (SSD preferred)
- Network: Static public IP address
Update Your Server:
# Update system packages
yum update -y
# Reboot if necessary
reboot
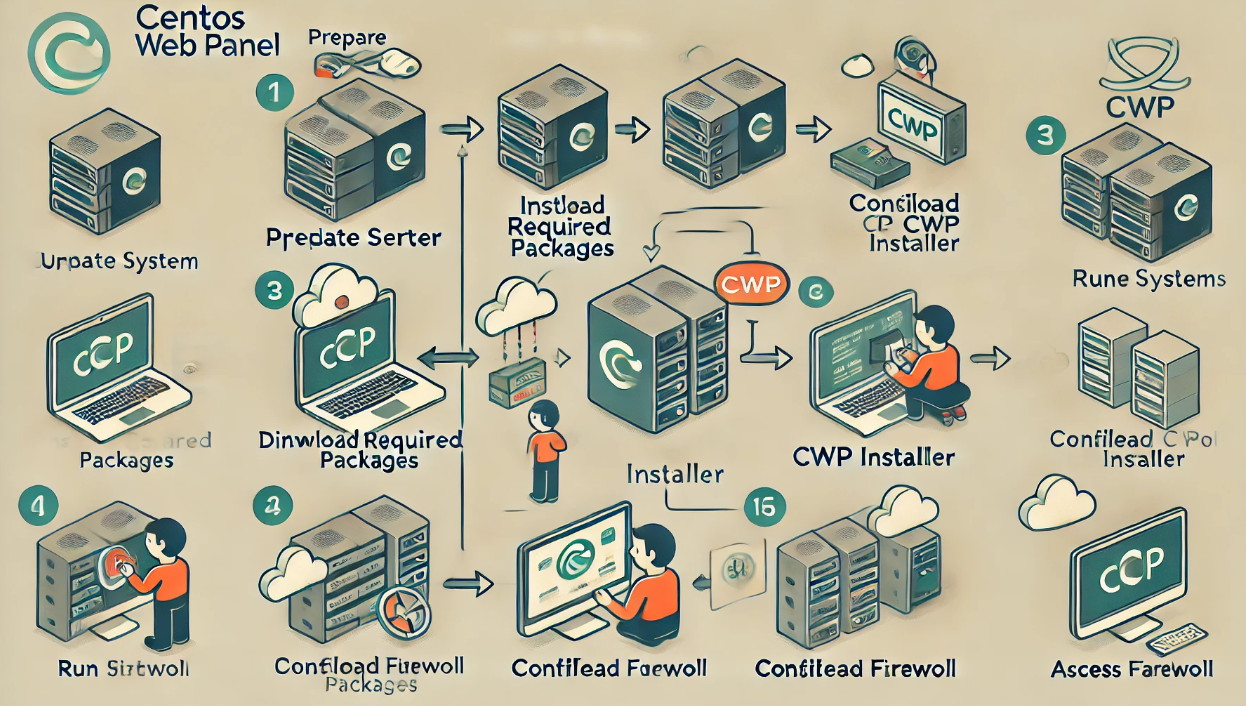
️ 2. Installing CentOS Web Panel (CWP)
⚙️ Step 1: Access Your Server via SSH
ssh root@your_server_ip
⚙️ Step 2: Set Hostname
# Set a hostname
hostnamectl set-hostname server.example.com
# Verify the hostname
hostname -f
⚙️ Step 3: Install Required Packages
# Install wget and curl
yum install wget curl -y
⚙️ Step 4: Download and Run the CWP Installer
For CentOS 7:
cd /usr/local/src
wget http://centos-webpanel.com/cwp-el7-latest
sh cwp-el7-latest
For CentOS 8 / Rocky Linux / AlmaLinux:
cd /usr/local/src
wget http://centos-webpanel.com/cwp-el8-latest
sh cwp-el8-latest
⚙️ Step 5: Reboot the Server
reboot
⚙️ Step 6: Access the CWP Admin Panel
Open your browser and navigate to:
https://your_server_ip:2031
Default Login:
- Username: root
- Password: Your server’s root password
3. Essential Post-Installation Security Tips
️ 1. Change Default Root Password
passwd
️ 2. Enable Firewall Protection (CSF/LFD)
# Install CSF if not installed
yum install csf -y
# Enable CSF and LFD
csf -e
systemctl enable lfd
Allow Essential Ports:
- HTTP/HTTPS: 80, 443
- SSH: 22 (or a custom port)
- CWP Panel: 2030 (HTTP), 2031 (HTTPS)
️ 3. Change the Default SSH Port
# Open SSH config file
nano /etc/ssh/sshd_config
# Modify the default port (e.g., from 22 to 2222)
Port 2222
# Restart SSH service
systemctl restart sshd
️ 4. Enable Two-Factor Authentication (2FA)
Go to CWP Admin Panel → Security Center → 2FA Authentication.
️ 5. Configure Regular Backups
tar -czvf /backup/cwp_backup_$(date +%F).tar.gz /home /var/lib/mysql /etc
4. Performance Optimization for CWP
⚙️ 1. Optimize Apache & Nginx Configuration
proxy_cache_path /var/cache/nginx levels=1:2 keys_zone=cache_zone:10m max_size=1g inactive=60m;
⚙️ 2. Set Up MySQL Query Cache
# Open MySQL config file
nano /etc/my.cnf
# Add query cache settings
query_cache_type = 1
query_cache_size = 64M
query_cache_limit = 2M
# Restart MySQL
systemctl restart mysqld
5. Troubleshooting Common CWP Issues
1. CWP Panel Inaccessible (Port Issues)
# Check firewall status
csf -l
# Open CWP ports if needed
csf -a YOUR_IP_ADDRESS
csf -r
2. Web Server Not Responding
# Restart Apache
systemctl restart httpd
# Restart Nginx
systemctl restart nginx
3. Database Connection Errors
# Restart MySQL
systemctl restart mysqld
# Check MySQL status
systemctl status mysqld
# Check MySQL logs
tail -f /var/log/mysqld.log
6. Best Practices for Ongoing CWP Security
- Regularly update CWP and server packages:
yum update -y - Disable root login and use key-based SSH authentication
- ️ Install and configure Fail2ban to prevent brute-force attacks
- Monitor server activity via the CWP dashboard
- Schedule regular backups (preferably offsite)
7. Accessing CWP: Essential URLs
| Function | URL |
|---|---|
| CWP Admin Panel (HTTPS) | https://your_server_ip:2031 |
| CWP Admin Panel (HTTP) | http://your_server_ip:2030 |
| User Control Panel | https://your_server_ip:2083 |
| phpMyAdmin | https://your_server_ip/phpmyadmin |
Conclusion: Simplify Server Management with CWP
CentOS Web Panel (CWP) provides powerful tools for managing Linux servers with a user-friendly interface.
However, proper installation, configuration, and security practices are essential for long-term stability.
Key Takeaways:
- ️ Follow installation steps carefully (use a fresh OS install)
- Implement essential security practices (firewall, SSH hardening, 2FA)
- Optimize performance with web server caching and database tuning
- Regularly monitor server activity and perform backups