
How to Transition from Shared Hosting to VPS Easily
If you’ve been using shared hosting for your website, you might have noticed that as your traffic grows, your website’s performance often takes a hit. Slow loading times, frequent downtimes, and limited customization options can hinder your online presence. This is where Virtual Private Servers (VPS) come into play! Transitioning to a VPS can seem daunting, but with the right approach, the process can be smooth and straightforward. Let’s dive into how you can make this important leap without breaking a sweat.
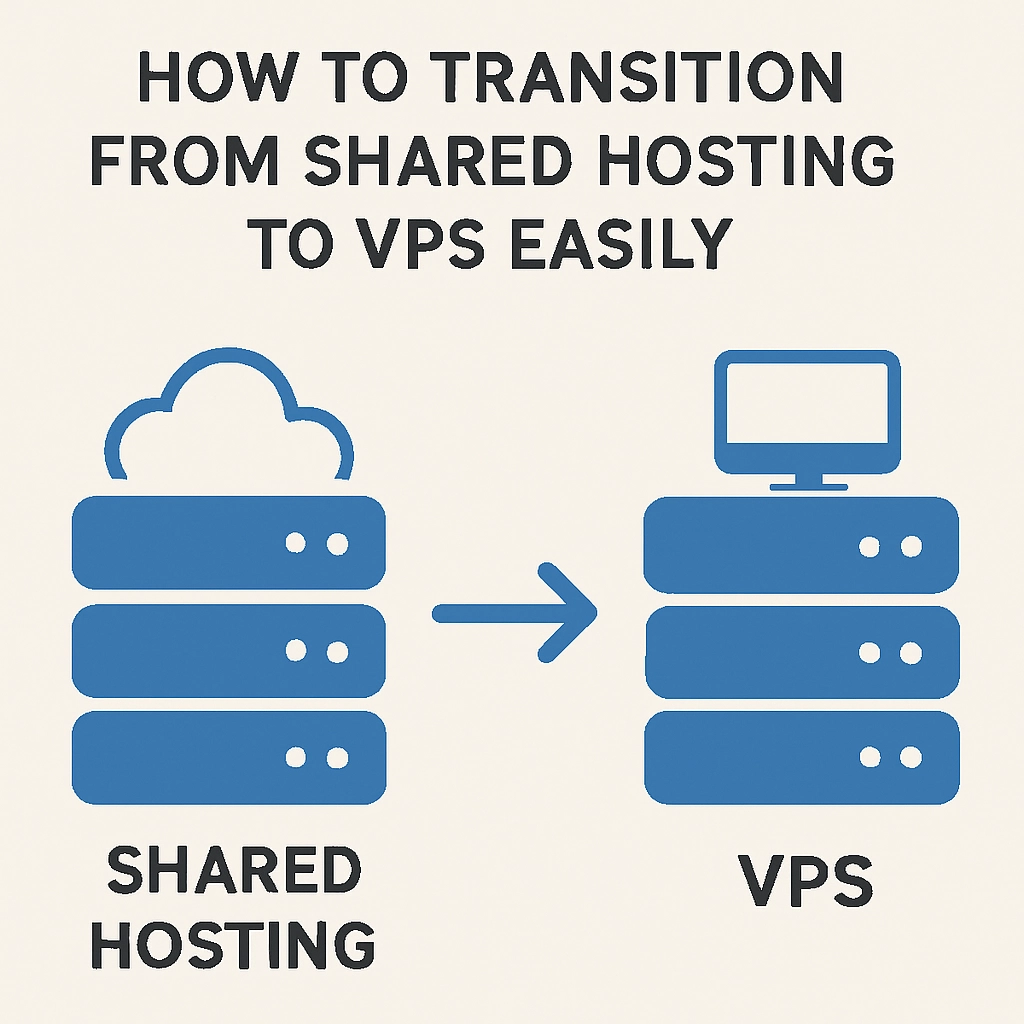
Understanding Shared Hosting vs. VPS
Before we get into the transition process, it’s crucial to understand the differences between shared hosting and VPS. Shared hosting means your website shares server resources with multiple other sites. It’s budget-friendly and perfect for smaller websites, but as your needs grow, it can feel cramped and limiting.
On the other hand, VPS hosting gives you a dedicated slice of server resources. You still share a physical server with others, but your environment is isolated, meaning you won’t inherently be affected by the traffic and performance of other sites. This leads to improved speed, enhanced security, and more control over your server settings.
Step 1: Assess Your Needs
The first step in transitioning to a VPS is to evaluate why you need the upgrade. Are you experiencing slow loading times, issues with customer support, or the inability to install specific applications? Knowing your motivations will help you choose the right hosting provider and plan.
It’s also wise to consider your anticipated growth. If you’re expecting traffic to surge in the coming months, selecting a VPS plan that can scale with you is crucial.
Step 2: Choose the Right VPS Provider
Once you’ve assessed your needs, it’s time to shop around for a VPS provider that fits your requirements. Look for providers that offer:
- Reliable uptime: A good provider should guarantee at least 99.9% uptime to ensure your website is always accessible.
- Scalability: As your website grows, you may need more resources. Choose a provider that allows you to easily upgrade your plan.
- Customer support: Ensure they have 24/7 support, preferably with various contact options, including live chat, phone, and email.
- User-friendly control panel: An intuitive control panel can significantly ease the management of your VPS.
Step 3: Back Up Your Data
Before making any moves, back up your entire website. You don’t want to lose any data during the transition process! This includes your website files, databases, and emails. Most hosting providers offer backup options, but using a dedicated backup tool or service can provide an added layer of security.
Step 4: Prepare for Migration
Once your backup is secure, you’ll want to set up your new VPS. This process typically involves:
- Choosing an operating system: Depending on your website’s needs (Linux is common for many, but Windows options are available too).
- Configuring your server: This often requires creating a user account, setting your SSH keys for secure access, and installing any necessary software or applications.
- Install a control panel: If you’re not comfortable with command-line interfaces, consider installing a graphical control panel like cPanel or Plesk.
Step 5: Migrating Your Website
Now for the big move! In most cases, you can migrate your website using various methods like FTP/SFTP, cPanel migration tools, or even a WordPress migration plugin if you’re using WordPress. Here’s how you can do it generally:
- Transfer files: Use FTP to upload your website files to the new VPS.
- Import databases: If your site relies on a database, you’ll need to export it from the old host and import it into your new server.
- Update configurations: Make sure to adjust any configuration files, such as database connection details.
Step 6: Test Everything
After the migration is complete, it’s time to give your site a thorough test run. Check all links, functionalities, and loading speeds. If you notice any issues, you can make adjustments accordingly before fully switching over.
Step 7: Update Your DNS Settings
The last major step is to point your domain name to the new VPS. This involves updating the Domain Name System (DNS) settings, which can typically be done through your domain registrar’s control panel. Keep in mind that DNS changes can take time to propagate, usually up to 48 hours.
Final Thoughts
Transitioning from shared hosting to VPS might seem like a hefty task, but taking it step-by-step can make the journey much more manageable. Not only will your website benefit from improved speed and performance, but you’ll also enjoy the flexibility and control that comes with VPS hosting. With a little planning, you can ensure that your website is not just ready for current demands, but also well-equipped for future growth. So, take that leap – your website will thank you!
Welcome to DediRock, your trusted partner in high-performance hosting solutions. At DediRock, we specialize in providing dedicated servers, VPS hosting, and cloud services tailored to meet the unique needs of businesses and individuals alike. Our mission is to deliver reliable, scalable, and secure hosting solutions that empower our clients to achieve their digital goals. With a commitment to exceptional customer support, cutting-edge technology, and robust infrastructure, DediRock stands out as a leader in the hosting industry. Join us and experience the difference that dedicated service and unwavering reliability can make for your online presence. Launch our website.