
Table of Contents
- Introduction to VMware ESXi and Its Benefits
- Step 1: Preparing for ESXi Installation
- Hardware requirements
- Checking compatibility
- BIOS/UEFI settings
- Step 2: Downloading ESXi and Creating Installation Media
- Where to download
- Creating a bootable USB drive
- Step 3: Installing VMware ESXi
- Step 4: Basic Configuration in ESXi
- Step 5: Using the ESXi Web Interface for Management
- Step 6: Setting Up Virtual Machines on ESXi
- Step 7: Securing ESXi
- Conclusion
1. Introduction to VMware ESXi and Its Benefits
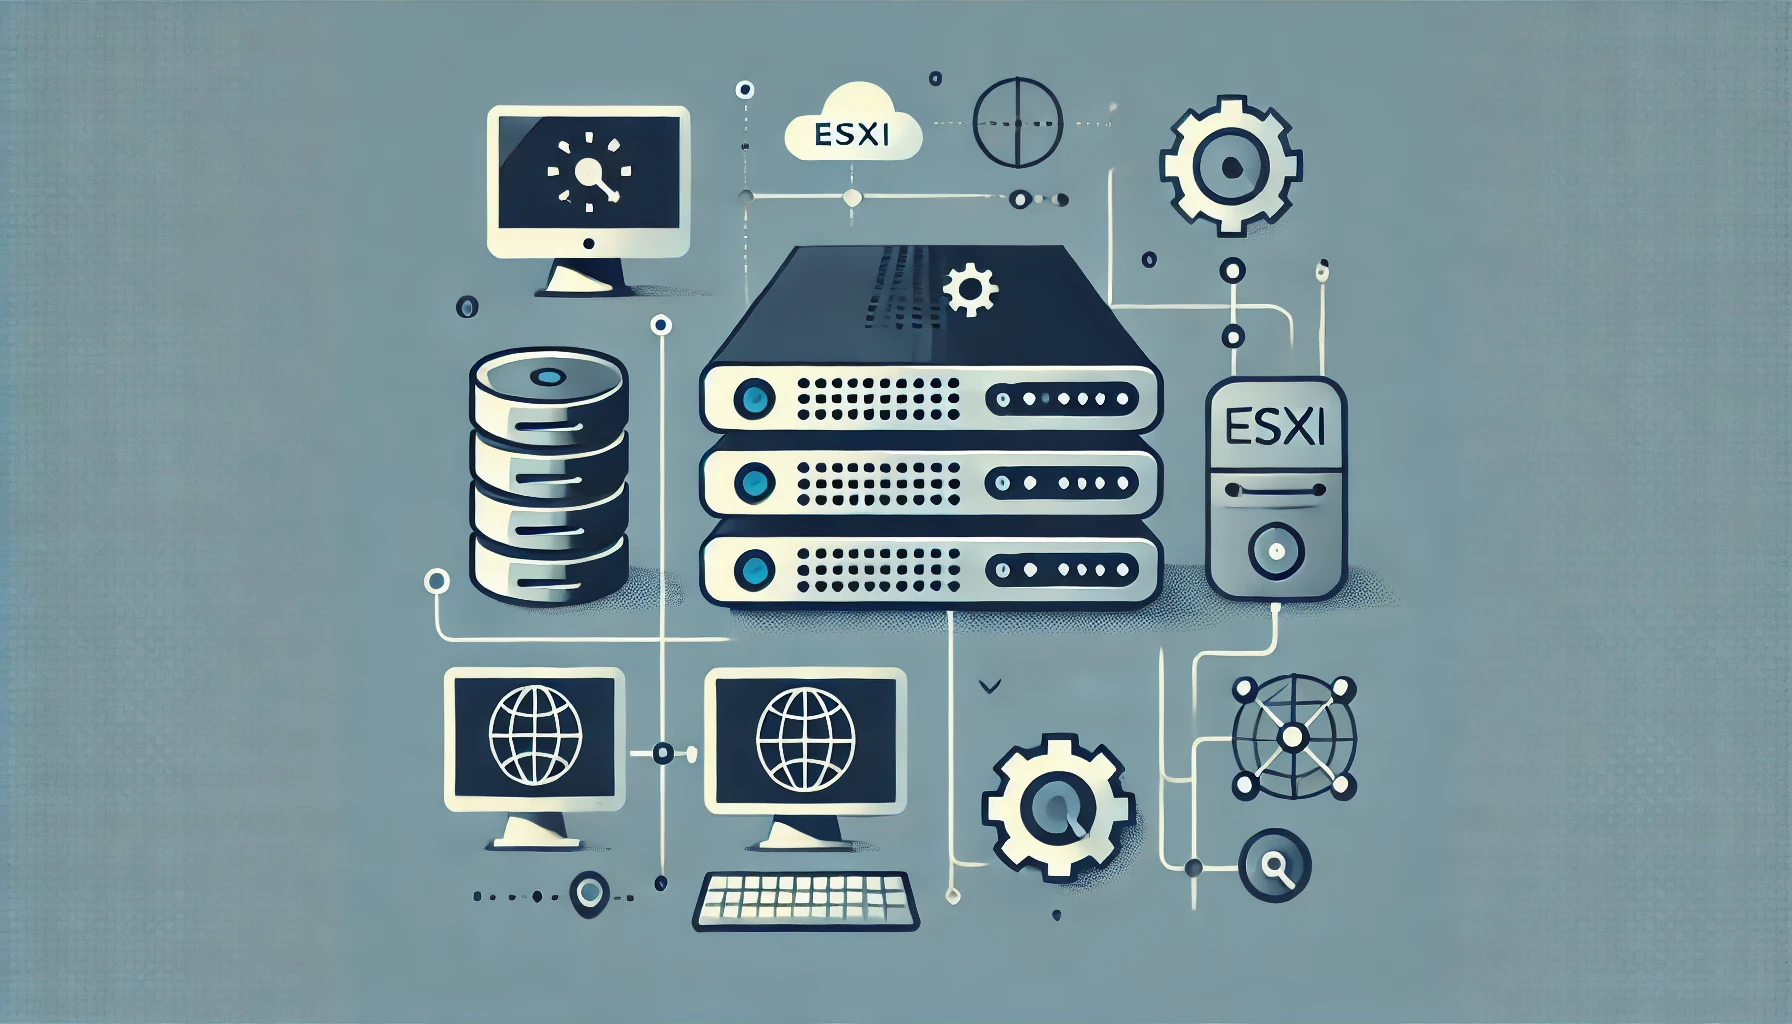
VMware ESXi is a Type-1 hypervisor that installs directly on server hardware, offering high performance, resource optimization, and isolation for multiple virtual machines (VMs). This setup is widely used in both business and development environments because it maximizes server usage and provides robust management tools.
Why Choose ESXi?
- Performance and Resource Control: Direct hardware access enables high performance.
- Isolation and Security: Each VM is isolated, minimizing interference and enhancing security.
- Scalability: ESXi supports extensive server environments, making it suitable for both small and large setups.
2. Step 1: Preparing for ESXi Installation
Hardware Requirements
Ensure your server meets these minimum requirements:
- CPU: x86 64-bit processor with support for hardware virtualization (Intel VT-x or AMD-V).
- RAM: Minimum of 4GB (8GB or more recommended).
- Storage: At least 8GB of storage for the ESXi installation.
Checking Compatibility
Use VMware’s Hardware Compatibility Guide to confirm that your server components are compatible with ESXi.
BIOS/UEFI Settings
Enable hardware virtualization in your server’s BIOS/UEFI:
- Restart the server and enter BIOS/UEFI settings.
- Navigate to CPU settings and enable Intel VT-x or AMD-V.
- Enable Secure Boot for enhanced security.
3. Step 2: Downloading ESXi and Creating Installation Media
Downloading ESXi
- Visit VMware’s official website and log in to your account or create one if needed.
- Download the ESXi ISO from the VMware ESXi download page and save it to your computer.
Creating a Bootable USB Drive
Use a tool like Rufus (Windows) or Etcher (Mac/Linux) to create a bootable USB:
- Open Rufus or Etcher, and select the downloaded ISO.
- Choose the USB drive as the destination.
- Start the process, and wait until the bootable USB is created.
4. Step 3: Installing VMware ESXi
- Boot from the Installation Media: Insert the USB drive and restart the server. Use the boot menu to select the USB.
- Start the ESXi Installer: Follow on-screen prompts to begin the installation.
- Accept Licensing Agreements and select the drive where ESXi will be installed.
- Set Root Password: Create a secure root password.
- Complete Installation: Once installed, remove the USB drive and restart the server.
5. Step 4: Basic Configuration in ESXi
After the initial setup, configure the basic settings in Direct Console User Interface (DCUI):
- Configure Network Settings: Set up the management network by defining IP, subnet, and DNS.
- Set Static IP Address: Assign a static IP to avoid address conflicts, which can disrupt access.
- Configure Hostname and DNS: Use a consistent hostname and DNS settings for better management.
6. Step 5: Using the ESXi Web Interface for Management
- Access the ESXi Web Interface: Enter the ESXi server’s IP address in a web browser to access the web client.
- Log In: Use the root credentials set during installation.
- Navigate the Interface: Use the dashboard to manage VMs, storage, and network settings.
Pro Tip: Bookmark the ESXi web client URL for quick access.
7. Step 6: Setting Up Virtual Machines on ESXi
- Create a New VM: From the web interface, go to Virtual Machines > Create/Register VM.
- Choose VM Settings: Define the OS type, name, and allocate CPU, memory, and storage.
- Install OS on VM: Follow the prompts to install your desired OS (Linux, Windows, etc.).
Helpful Resource: VMware Guide to Creating VMs
8. Step 7: Securing ESXi
For optimal security:
- Enable Firewalls: Use built-in firewall options to control incoming and outgoing traffic.
- Use Secure Boot: Enabling Secure Boot protects the server’s startup process.
- Implement Access Controls: Define strict access rules and update passwords regularly.
Setting up and configuring VMware ESXi provides a stable foundation for managing virtualized environments. By following these steps, you can create a secure, high-performance setup tailored to your business needs.