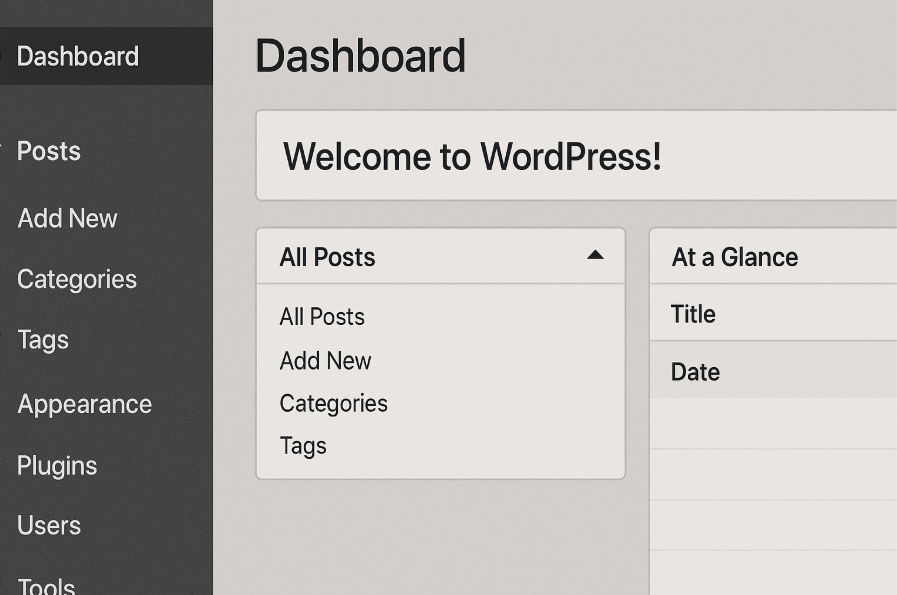
How to Launch a Website in 24 Hours with VPS, Domain & SSL (No Coding Skills Needed)
Meta Description: Need to launch your website fast? This beginner-friendly guide walks you through launching a website in 24 hours using a VPS, domain, and SSL — no coding skills required!
⚡️ Introduction: Build Fast. Launch Smart.
Whether you’re a startup founder, freelancer, or a small business owner, there’s one thing we all want: to get online fast without getting lost in tech jargon.
The good news? You can launch a professional website in under 24 hours — even if you’ve never written a line of code.
With the right tools (a VPS, a domain name, and an SSL certificate), and a few beginner-friendly platforms, you’ll go from “idea” to “live site” in just one day.
Let’s get started.
✅ What You’ll Need to Launch a Website in 24 Hours
Before we jump into the how-to, here’s a quick checklist:
| Tool | Purpose |
|---|---|
| VPS (Virtual Private Server) | Your website’s hosting environment |
| Domain Name | Your website’s address (e.g. mycoolsite.com) |
| SSL Certificate | Makes your site secure (HTTPS) |
| Control Panel (like CyberPanel or Plesk) | Manages your site without coding |
| CMS (like WordPress) | Makes your site look great and easy to manage |
Don’t worry — we’ll walk you through setting all this up. You don’t need to be a developer. You just need to follow the steps.
Step 1: Register a Domain Name (30 minutes)
What It Is:
Your domain name is your address on the internet.
Where to Buy:
Pro Tips:
-
Use .com if available
-
Keep it short, memorable, and brandable
-
Avoid numbers and hyphens
Once you buy the domain, keep your login handy — you’ll need it soon.
Step 2: Get a VPS Hosting Plan (30 minutes)
A VPS (Virtual Private Server) gives you dedicated resources and performance without the high cost of a full server.
Recommended VPS Providers:
Choose:
-
Linux OS (Ubuntu 22.04 is a solid default)
-
At least 1 vCPU / 1 GB RAM for small sites
-
Data center location close to your audience
After Purchase:
Your VPS provider will give you:
-
IP address
-
Root password
-
SSH access info
You don’t have to touch code — we’re using a control panel next to make everything user-friendly.
Step 3: Install a Control Panel (45 minutes)
Recommended: CyberPanel (Free)
CyberPanel gives you a visual dashboard to manage your server, websites, and SSL with no coding.
How to Install CyberPanel (Automated Script):
-
Log into your VPS via the web console or use an SSH tool like Termius.
-
Run this:
sh <(curl https://cyberpanel.net/install.sh || wget -O - https://cyberpanel.net/install.sh)
3. Follow the prompts and set a secure password.
Once done, you can access your dashboard via:
https://your-server-ip:8090
CyberPanel will auto-install:
-
Web server (LiteSpeed/OpenLiteSpeed)
-
PHP
-
MySQL
-
FTP
-
DNS
-
SSL tools
Step 4: Point Your Domain to Your VPS (15 minutes)
You need to connect your domain name to your VPS so visitors can reach your site.
Steps:
-
Go to your domain registrar dashboard
-
Set the domain’s A record to point to your VPS IP address
-
Example:
-
					A Record
Host: @
Points to: 123.456.789.000
TTL: Auto
DNS changes may take up to 1 hour to propagate.
Step 5: Install SSL Certificate (15 minutes)
SSL makes your site secure (HTTPS). With CyberPanel, it’s one click.
How To:
-
In CyberPanel, go to “Websites” > “List Websites”
-
Click “Manage” next to your domain
-
Scroll down and click “Issue SSL”
CyberPanel will use Let’s Encrypt to get you a free, valid SSL cert.
Done! You now have a secure website URL.
Step 6: Install WordPress or Website Builder (30 minutes)
WordPress is the easiest and most popular way to build a website without code.
Install in CyberPanel:
-
Go to “Websites” > “List Websites”
-
Click “Manage”
-
Scroll to “Applications” and choose “Install WordPress”
-
Set your:
-
Site title
-
Admin username & password
-
Email
-
Click install. Your website is now live and accessible.
Access WordPress Admin:
https://yourdomain.com/wp-admin
Step 7: Choose a Theme & Add Content (2–3 hours)
How To Customize:
-
Log into WordPress
-
Go to Appearance > Themes
-
Click Add New, browse free themes
-
Install + Activate your favorite
Add Pages:
-
Home
-
About
-
Contact
-
Services or Portfolio
Use the Block Editor to add text, images, buttons, and more.
Need a logo or images?
Final Step: Test Everything & Launch (1 hour)
What to Check:
-
Visit your site on mobile and desktop
-
Test all links and contact forms
-
Verify SSL (look for the padlock in browser bar)
-
Share the site with friends for feedback
Optional Bonus: Add Google Analytics or Search Console
You did it — you launched your website in under 24 hours!
Real-World Use Case: Freelance Designer Portfolio in a Day
Jane, a freelance designer, needed a site ASAP for a client pitch. She:
-
Bought
janedesigns.com -
Used Hostinger for a VPS + domain bundle
-
Installed CyberPanel + WordPress
-
Launched her site in 8 hours, including a custom portfolio page
Result: Landed her client — and kept the site as her main portfolio.
✅ 24-Hour Website Launch Checklist
| Task | Time |
|---|---|
| Register Domain | 30 min |
| Buy & Set Up VPS | 30 min |
| Install CyberPanel | 45 min |
| Connect Domain (DNS) | 15 min |
| Install SSL | 15 min |
| Set Up WordPress | 30 min |
| Add Content & Test | 2–3 hours |

