
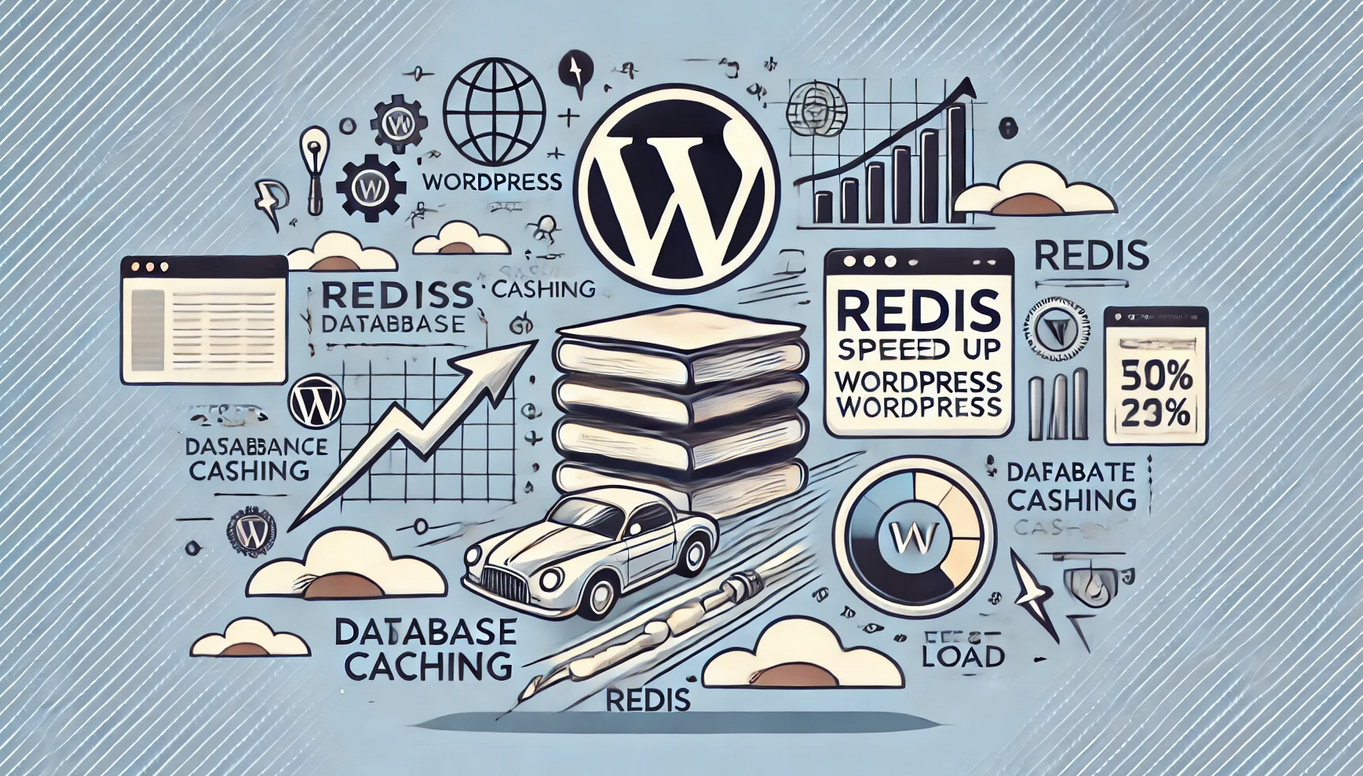
How Redis Enhances WordPress Speed: A Beginner’s Guide
WordPress is a powerful platform for building websites, but its performance can slow down as traffic increases or as the website becomes more database-intensive. This is where Redis, a high-performance caching system, comes into play. Redis stores frequently accessed data in memory, reducing the load on your WordPress database and dramatically speeding up your site.
This guide will introduce Redis caching, explain how it works, highlight its benefits, and provide a step-by-step guide to setting it up for your WordPress website.
What is Redis?
Redis (Remote Dictionary Server) is an open-source, in-memory data structure store that serves as a cache for databases. It stores frequently accessed data in RAM, making it much faster to retrieve compared to querying the database each time.
For WordPress websites, Redis is typically used as an object cache, storing query results and reducing the need to repeatedly query the MySQL database.
How Redis Caching Works
- Database Queries: When a user requests a page, WordPress fetches data from the MySQL database to generate the page.
- Redis Caching: Redis intercepts these queries and stores the data in memory.
- Faster Data Retrieval: On subsequent requests, Redis serves the cached data from memory, skipping the database entirely.
This process significantly reduces database load and speeds up page load times, particularly for dynamic and database-heavy sites.
Benefits of Redis for WordPress
1. Faster Page Load Times
By storing data in memory, Redis minimizes the time spent querying the database, leading to faster page loads and a better user experience.
2. Reduced Database Load
Redis reduces the number of queries sent to the MySQL database, freeing up resources and improving overall site performance.
3. Scalability
Redis makes it easier to handle high-traffic periods, as it can serve cached data to multiple users simultaneously without overloading the database.
4. Enhanced User Experience
A faster website reduces bounce rates, improves engagement, and can positively impact SEO rankings.
5. Works Well with WooCommerce
For database-heavy WordPress sites like WooCommerce, Redis improves the speed of operations like cart updates and product searches.
Step-by-Step Guide to Setting Up Redis for WordPress
1. Check Hosting Compatibility
Ensure your hosting provider supports Redis. Many managed WordPress hosting providers, such as Kinsta or Cloudways, offer Redis integration out of the box.
2. Install Redis on Your Server
If you have a VPS or dedicated server, you’ll need to install Redis manually:
On Ubuntu:
- Update your package list:
sudo apt update
Install Redis:
sudo apt install redis-server
Enable and start the Redis service:
					sudo systemctl enable redis
sudo systemctl start redis
3. Install a Redis PHP Extension
WordPress requires the PHP Redis extension to communicate with the Redis server:
- Install the PHP extension:
sudo apt install php-redis
Restart your web server to apply changes:
					sudo systemctl restart apache2
# or
sudo systemctl restart nginx
4. Install a WordPress Redis Plugin
To integrate Redis with WordPress, install and activate a Redis plugin. Popular options include:
- Redis Object Cache
- W3 Total Cache (with Redis support)
Using Redis Object Cache:
- Install the Redis Object Cache plugin from the WordPress plugin repository.
- Activate the plugin.
- Go to Tools > Redis in your WordPress dashboard.
- Click Enable Object Cache.
5. Configure Redis for WordPress
You may need to add Redis configuration details to your WordPress wp-config.php file:
-
Open the file for editing:
nano /path-to-your-wordpress/wp-config.php
Add the following lines:
					define( 'WP_CACHE', true );
define( 'REDIS_HOST', '127.0.0.1' );
define( 'REDIS_PORT', 6379 );
define( 'REDIS_PASSWORD', '' ); // Only if a password is set for Redis
-
Save and close the file.
6. Test Redis Functionality
To ensure Redis is working:
- Go to Tools > Redis in your WordPress dashboard.
- Look for the status message that confirms Redis is connected and caching is enabled.
You can also verify Redis activity using the Redis CLI:
redis-cli monitor
This command shows live activity and confirms that WordPress is interacting with Redis.
Tips for Using Redis Effectively
-
Set a Memory Limit: Redis uses RAM, so configure a memory limit in your
redis.conffile to prevent it from consuming excessive resources:
					maxmemory 256mb
maxmemory-policy allkeys-lru
-
The
allkeys-lrupolicy evicts the least recently used data when the memory limit is reached. -
Monitor Redis Usage: Use tools like
redis-clior monitoring dashboards (e.g., Datadog) to ensure Redis is functioning optimally. -
Regularly Clear the Cache: If you notice outdated data being served, you can clear the Redis cache using the plugin’s settings or the CLI:
redis-cli FLUSHALL
Redis is a game-changing caching solution for WordPress websites, especially those with high traffic or database-heavy operations. By storing frequently accessed data in memory, Redis reduces database load, improves page load times, and ensures a seamless user experience.
Setting up Redis may involve a bit of configuration, but the performance benefits far outweigh the effort. Whether you’re running a WooCommerce store, a membership site, or a content-heavy blog, Redis can take your WordPress site to the next level in speed and scalability.