
If you’ve ever dealt with the tedious tasks of resending donation receipts or updating donor information, you understand how quickly these responsibilities can accumulate for a nonprofit organization. This not only consumes valuable time but can also lead to frustration among supporters who have to wait for updates or their documents.
A donor portal can transform this experience. By implementing a donor portal, donors can easily log in to view their giving history, download receipts, and update their personal information without needing to reach out for assistance. This self-service functionality streamlines processes, allowing you to focus more on your organization’s core mission.
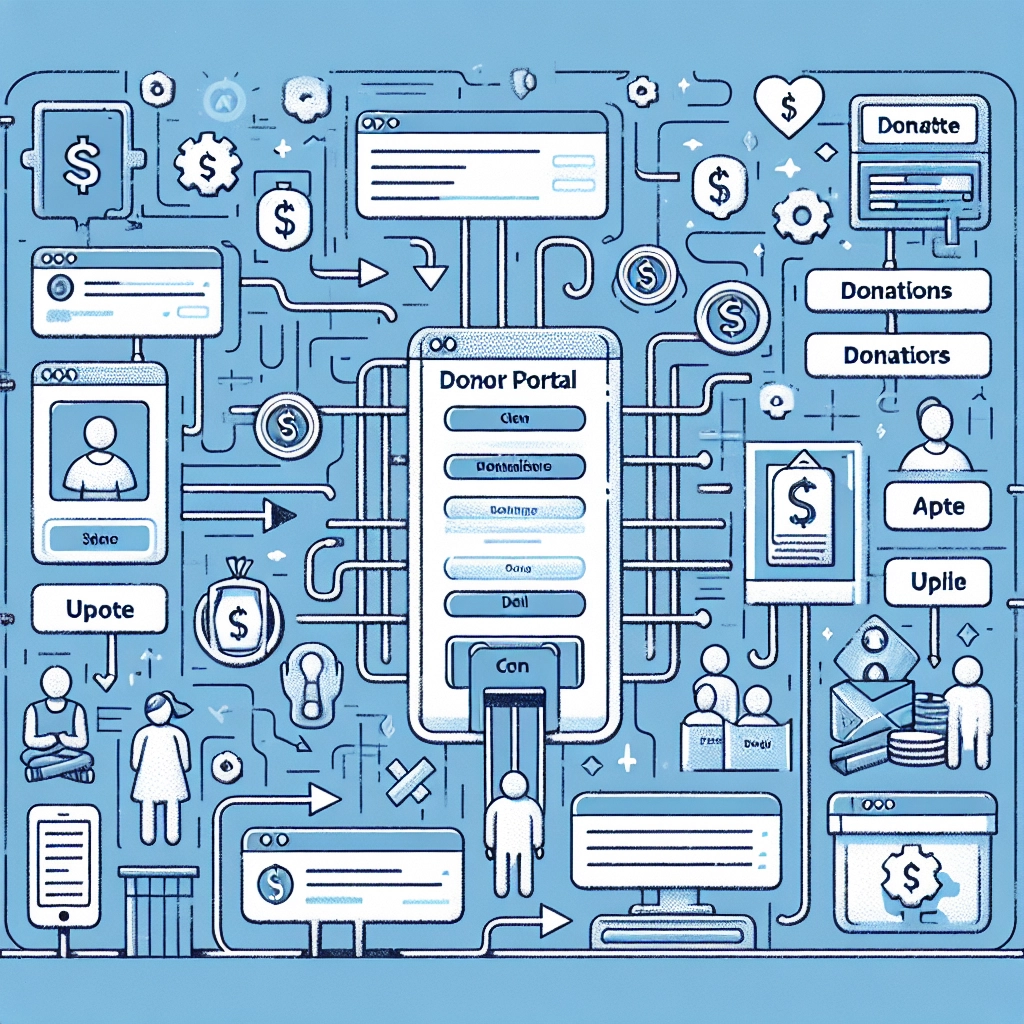
Setting up a donor portal on a WordPress site is a straightforward process, especially with a plugin like Charitable, which enables you to create a secure donor dashboard quickly—no coding skills required. This guide will walk you through the steps to create a donor portal for your nonprofit website, saving time and enhancing donor satisfaction.
Why Create a Donor Portal in WordPress?
A donor portal provides your supporters a secure and user-friendly interface on your nonprofit website to manage their donations on their terms. By logging in, donors can:
- View their donation history and track their impact.
- Manage recurring donations with ease.
- Update personal information, including email and address.
- Stay connected with your organization, fostering trust and loyalty.
Moreover, it reduces the administrative workload on your team by minimizing the need for manual intervention in these processes.
Steps to Set Up a Donor Portal
Step 1: Install and Activate the Charitable Plugin
To create the donor dashboard, you need the right tool: the Charitable plugin. This popular fundraising solution includes a built-in donor dashboard, which allows supporters to manage various aspects of their donations securely.
- Go to the Charitable website and click to get started.
- Download the plugin and note the license key.
- From your WordPress dashboard, navigate to Plugins > Add New, search for Charitable, and click Install Now followed by Activate.
- Upload your downloaded plugin zip file if you have the Pro version.
- Enter your license key under Charitable > Settings > License to access premium features.
Step 2: Enable the Donor Dashboard
Once activated, you must enable the Donor Dashboard feature. Go to Charitable > Settings > Donors and toggle the option for enabling the donor dashboard. Now, when donors sign up, they will get access to it.
Step 3: Customize Your Donor Dashboard
After enabling the dashboard, set up how you want it to be displayed:
- Choose what statistics donors can see, like lifetime donations and average donation value.
- Decide if they can update contact details, social links, and more.
- Adjust the tabs and information available, like profile fields, campaign participation, and the ability to reset passwords.
Be sure to save your changes upon completion.
Step 4: Create a Custom Donor Portal Page (Optional)
While Charitable automatically generates a donor dashboard page, you can create a custom one for better aesthetics or personalization.
- Go to Pages > Add New.
- Title your page (e.g., “Donor Dashboard”) and use the shortcode
[charitable_donor_dashboard]in the content area to link the dashboard. - Customize the page with text, images, or videos to greet and inform your donors.
After saving the page, navigate to Charitable > Settings > General > Pages to set your new page as the donor dashboard.
Step 5: Test the Donor Dashboard
Before launching, it’s wise to test the portal yourself. Create a dummy donor account to experience the functionality firsthand. Ensure all features, such as updating details and viewing donation history, work correctly and intuitively.
Enhancing Donations: Tips
Once your portal is live, to further increase donations:
- Make donation buttons easily accessible.
- Explain how donations will impact your cause.
- Offer multiple secure payment options.
- Suggest preset donation amounts.
- Enable easy sharing options for campaigns on social media.
FAQs
You might still have questions about setting up a donor portal. Here are some common inquiries:
-
How do I create a donation page? Use a donation plugin like Charitable to add a donation form to any page.
-
Does Charitable offer a donor portal? Yes, it includes a built-in donor dashboard feature.
-
Can donors manage recurring donations? Yes, with Charitable’s Pro plans, they can easily manage these.
-
Can donors download receipts? Yes, the plugin automatically generates downloadable PDF receipts for tax purposes.
-
What if I also need a member portal? You may need a dedicated membership plugin for exclusive content and member management.
By following these steps, you’ll set up a functional and appealing donor portal that streamlines your processes and enhances the donor experience, ultimately supporting your nonprofit’s mission effectively.
Welcome to DediRock, your trusted partner in high-performance hosting solutions. At DediRock, we specialize in providing dedicated servers, VPS hosting, and cloud services tailored to meet the unique needs of businesses and individuals alike. Our mission is to deliver reliable, scalable, and secure hosting solutions that empower our clients to achieve their digital goals. With a commitment to exceptional customer support, cutting-edge technology, and robust infrastructure, DediRock stands out as a leader in the hosting industry. Join us and experience the difference that dedicated service and unwavering reliability can make for your online presence. Launch our website.