
Getting Started with Virtualizor: A Beginner’s Guide to Managing Your VPS
Meta Description: New to VPS hosting? This beginner-friendly guide shows you how to log in to Virtualizor, navigate the dashboard, and easily manage your VPS — start, stop, restart, and reinstall the OS.
Introduction: VPS Management Made Simple
If you’ve just signed up for a VPS hosting plan, you might be wondering — how do I manage everything easily?
That’s where Virtualizor comes in. Designed by Softaculous, Virtualizor is a user-friendly VPS control panel that makes tasks like starting, stopping, restarting, and even reinstalling your server’s OS quick and simple — no deep Linux knowledge required.
In this guide, you’ll learn:
-
How to log in to your Virtualizor panel
-
An overview of the interface
-
How to manage your VPS in just a few clicks
Ready to master your server? Let’s dive in!
How to Log Into Virtualizor
Once you’ve purchased a VPS, your hosting provider will send you:
-
Your VPS IP address
-
Virtualizor login URL (something like
https://your-server-ip:4083) -
Username (often
rootor a custom name) -
Password
✅ Steps to Log In:
-
Open your browser and visit your Virtualizor panel URL.
-
Enter your username and password.
-
Click Login.
Tip: Save your login URL in your bookmarks for quick access.
If you can’t log in, double-check that you’re using the correct credentials and that your network/firewall allows access to port 4083.
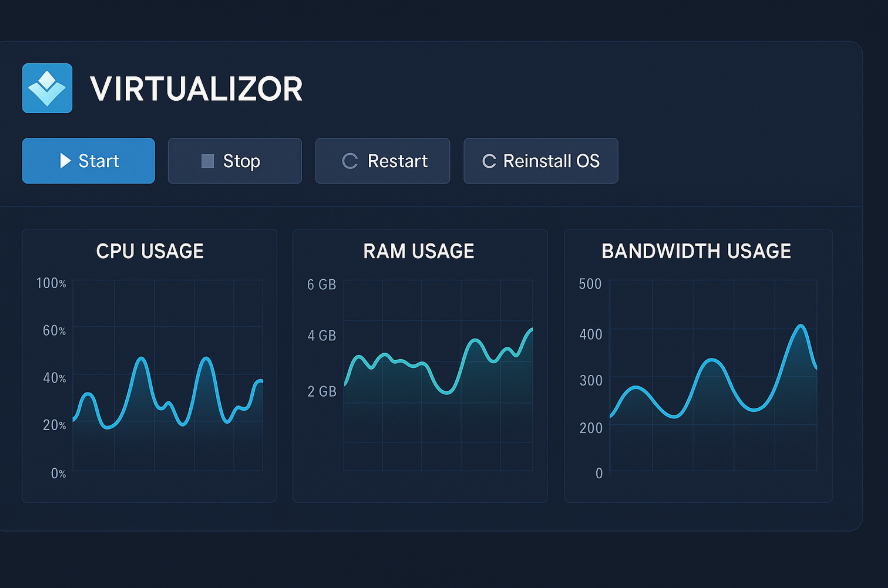
️ Virtualizor Dashboard Overview: Your Command Center
Once logged in, you’ll see a clean, intuitive interface that puts all important actions at your fingertips.
Main Sections You’ll See:
-
Resource Usage: Visual graphs of CPU, RAM, bandwidth, and disk space.
-
Power Options: Buttons to Start, Stop, Restart, and Reinstall your VPS.
-
System Info: Basic details like server IP, hostname, current OS, and status.
-
Monitoring: Real-time CPU load, memory usage, disk I/O, and network activity.
-
Tasks/Logs: List of past actions like OS reinstallations, restarts, and backup operations.
Virtualizor is designed to make server management as easy as managing your smartphone — fast, visual, and simple.
Basic VPS Management Actions in Virtualizor
Let’s go through the core management tasks you’ll probably use most often:
Start Your VPS
If your VPS is powered off:
-
Click the Start button.
-
Wait a few seconds — the status should change to Running.
✅ Use this after server maintenance, reboots, or if you manually shut down your server.
Stop Your VPS
To safely shut down your server:
-
Click the Stop button.
-
This will gracefully power off your VPS.
Warning:
Force-stopping a VPS abruptly can cause data loss, just like unplugging a computer. Always back up critical data first!
Restart Your VPS
If you need to reboot (e.g., after installing updates or making system changes):
-
Click Restart.
-
Your server will shut down and automatically power back on.
Restarting helps clear memory leaks, reset crashed processes, and refresh performance.
Reinstall Your Operating System
Sometimes you want a completely fresh start — maybe you want to:
-
Switch from Ubuntu to Debian
-
Upgrade from CentOS 7 to AlmaLinux
-
Clean up a misconfigured server
Here’s how to reinstall your OS in Virtualizor:
-
Click the Reinstall button.
-
Choose your desired OS from the list (Ubuntu, Debian, CentOS, AlmaLinux, Fedora, etc.).
-
Set a new root password.
-
Confirm the reinstall request.
Important:
-
Reinstalling your OS will wipe all existing data.
-
Always back up your server before reinstalling!
️ After reinstalling, you’ll get new login credentials — check your email or hosting panel.
Monitoring VPS Health in Virtualizor
Good news: Virtualizor doesn’t just let you control your VPS — it also helps you monitor its health.
You can track:
-
CPU Usage: See if your server is under heavy load.
-
RAM Usage: Monitor memory consumption to avoid slowdowns.
-
Disk I/O: Check how actively your server reads/writes data.
-
Bandwidth: See incoming and outgoing traffic trends.
These insights help you detect problems early and plan upgrades before performance suffers.
️ Extra Features You Might Find Useful
Depending on your VPS provider, Virtualizor may also let you:
-
Access the server through VNC Console (for emergency troubleshooting)
-
Change your root password
-
Create and restore snapshots/backups
-
Manage firewall rules (IPTables)
Each feature is just a click or two away — no coding skills required.
Pro Tips for Beginners Using Virtualizor
-
Always back up before major changes (especially reinstalls).
-
Monitor your server stats weekly, not just when things go wrong.
-
Choose the right OS based on your app’s needs (some apps work better on Ubuntu; others on AlmaLinux).
-
Log out after finishing tasks — especially on public or shared computers.
And remember: If you’re ever unsure, your hosting provider’s support team can guide you through Virtualizor functions safely.
✅ Final Thoughts: Virtualizor Makes VPS Hosting Simple
With Virtualizor, you no longer need to be a Linux expert to manage your server like a pro.
From starting and stopping your server to reinstalling a new OS or monitoring resource usage — everything is visual, quick, and beginner-friendly.
Take control of your VPS with confidence — Virtualizor makes it easy.