
CSF Firewall Rules: What Every Hosting Provider Should Know
Introduction
For hosting providers, managing server security is one of the most critical responsibilities. A robust firewall can protect servers from malicious attacks, unauthorized access, and resource abuse. ConfigServer Security & Firewall (CSF) is one of the most popular and feature-rich firewalls for cPanel servers. It integrates seamlessly with cPanel and WHM, making it an essential tool for hosting providers.
In this guide, we’ll provide a step-by-step guide to configuring CSF on a cPanel server, explain essential CSF firewall rules, and share best practices to secure your hosting environment.
What is CSF (ConfigServer Security & Firewall)?
CSF is a firewall application specifically designed for Linux servers. It acts as an additional layer of protection by:
- Managing inbound and outbound traffic.
- Blocking malicious IPs and login attempts.
- Integrating with cPanel, WHM, and other control panels for ease of use.
CSF also includes Login Failure Daemon (LFD), which monitors login attempts and blocks IPs after repeated failures. This makes it a powerful tool for brute force protection.
Step-by-Step Guide to Configuring CSF on a cPanel Server
Step 1: Install CSF on Your Server
- Log in to Your Server: Use SSH to log in as the root user.
- Download the CSF Installer:
cd /usr/src wget https://download.configserver.com/csf.tgz - Extract and Install CSF:
tar -xzf csf.tgz cd csf sh install.sh - Verify the Installation:
perl /usr/local/csf/bin/csftest.plYou should see a message indicating that the required iptables modules are present.
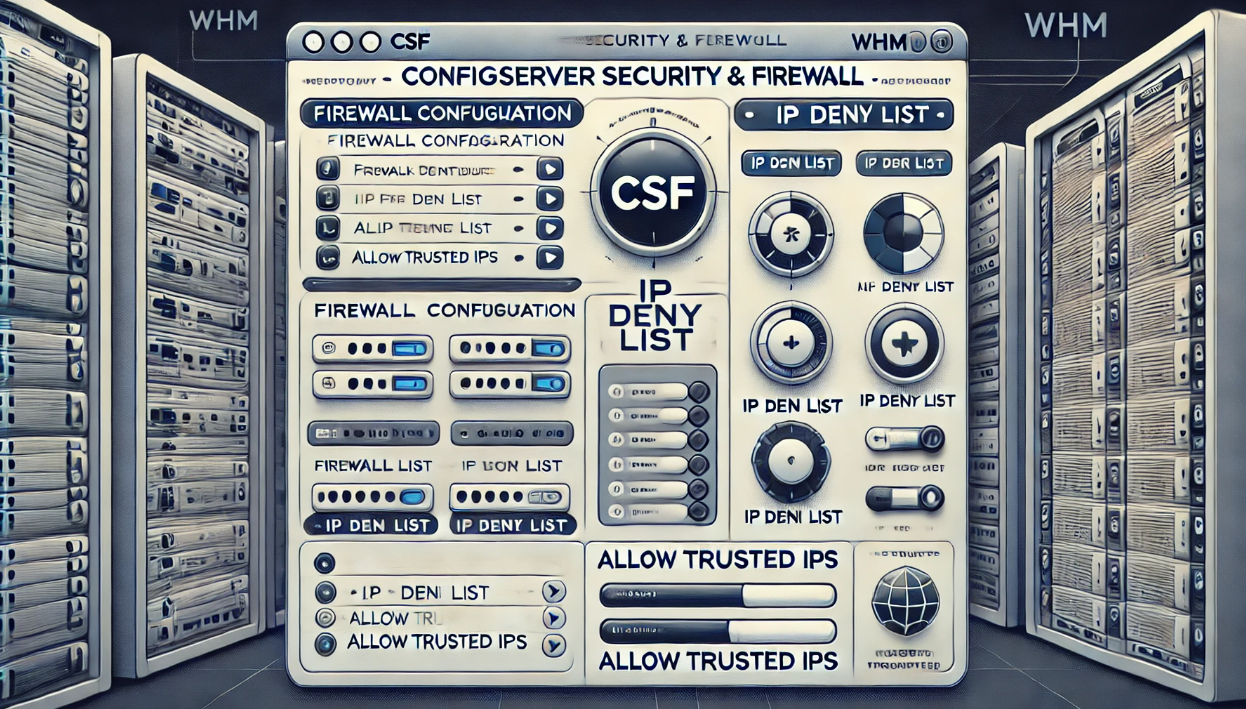
Step 2: Access CSF in WHM
- Log in to WHM: Go to https://your-server-ip:2087 and log in with your root credentials.
- Open the CSF Plugin: Navigate to Plugins > ConfigServer Security & Firewall in the WHM sidebar.
Step 3: Disable Testing Mode
- Edit the Configuration File: In the CSF dashboard, click on Firewall Configuration. Find the line:
TESTING = "1"Change it to:
TESTING = "0" - Save and Restart CSF: Click Change at the bottom of the page and restart CSF and LFD.
Step 4: Configure Basic Firewall Rules
- Set Default Allow/Deny Policies: In the Firewall Configuration, configure the following:
TCP_IN = "20,21,22,25,53,80,110,143,443,465,587,993,995" TCP_OUT = "20,21,22,25,53,80,110,113,443" - Enable ICMP and Ping Control: Find the line:
ICMP_IN = "1" - Limit Connections Per IP: Enable connection limits to prevent DDoS attacks:
CONNLIMIT = "80;20,443;20"
Step 5: Enable Login Failure Detection (LFD)
- Monitor Login Attempts: LFD monitors failed login attempts for services like SSH, cPanel, and FTP.
- Edit LFD Configuration: Adjust the following parameters:
LF_TRIGGER = "5" LF_BLOCK = "1" - Enable Alerts for Login Failures: Add your email address in the following field:
LF_ALERT_TO = "[email protected]"
Step 6: Whitelist Trusted IPs
- Go to the Allow List: In WHM, navigate to ConfigServer Security & Firewall > csf.allow.
- Add Your IP:
192.168.1.1 # Replace with your IP address - Save Changes: Click Change and restart CSF.
Step 7: Test Your Configuration
Essential CSF Firewall Rules Every Hosting Provider Should Know
- Block Malicious IPs:
csf -d 123.45.67.89 - Protect Against Port Scanning:
PS_INTERVAL = "300" PS_LIMIT = "10" - Rate-Limit Connections:
PORTFLOOD = "22;tcp;5;300" - Enable Country-Based Blocking:
CC_DENY = "CN, RU, IR"
Tips for Managing CSF Effectively
- Regularly Review Logs: Monitor CSF logs for blocked IPs and other security events to adjust rules as needed.
- Backup Configuration Files: Before making significant changes, back up the
csf.conffile:cp /etc/csf/csf.conf /etc/csf/csf.conf.bak - Keep CSF Updated: Regularly update CSF to benefit from the latest features and security enhancements.
- Educate Your Users: Provide customers with guidelines for secure password creation and account management to minimize brute force attacks.