
Most of your visitors likely use WhatsApp daily to connect with friends and family. By adding a WhatsApp chat feature to your WordPress site, you provide them with a familiar and straightforward way to reach your business. This type of easy communication encourages potential customers to engage without the pressure of filling out lengthy forms or making phone calls.
Through personal experience with my WordPress websites, I’ve found that a chat widget allows visitors to start conversations in a low-pressure environment. Following the addition of WhatsApp chat, I observed a noticeable increase in visitor engagement.
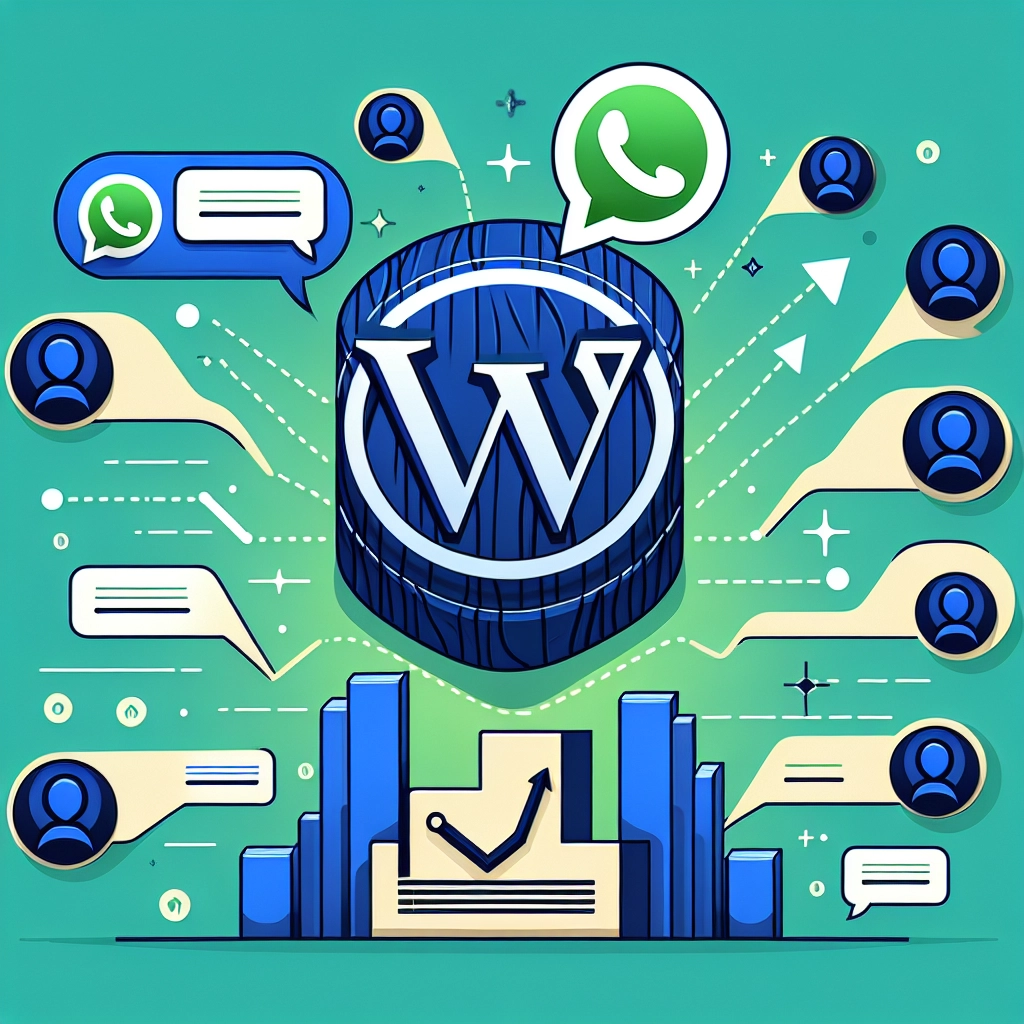
In this guide, I’ll take you through five simple steps to implement a WhatsApp click-to-chat widget on your WordPress site, which could lead to higher interaction levels even when visitors are browsing elsewhere.
Why Add a Click-to-Chat WhatsApp Widget?
Integrating a WhatsApp widget makes it easier for your users to get in touch instantly. With just a click or tap, they can contact you directly through WhatsApp, one of the most widely used messaging applications globally. This immediate access can foster trust and encourage communication since many people already use WhatsApp frequently.
Here are key benefits of adding this feature:
- Faster Responses: Visitors gain instant chat access instead of waiting for email replies, enhancing user experience.
- Personal Touch: Direct messaging feels natural compared to filling out formal contact forms or emails.
- Increased Engagement: Knowing they can get immediate help encourages visitors to reach out more often.
Depending on your website type, WhatsApp can serve various functions effectively. For instance:
- E-commerce: Answer product inquiries promptly to facilitate quick purchasing decisions.
- Service-Based Businesses: Allow customers to book appointments seamlessly.
- Event Organizers: Address last-minute registration queries in real time.
Here’s an outline of what this guide will cover:
- Installing and Activating the WPChat Plugin
- Setting Up the WPChat Plugin
- Customizing Your Click-to-Chat WhatsApp Button
- Configuring Visibility Settings for the Button
- Adding Chat Agents and Optional FAQs
Step 1: Installing and Activating the WPChat Plugin
To get started, you will need to install the WPChat plugin, which connects your WordPress website to WhatsApp. This step allows you to maintain chat communication with visitors even after they exit your site.
Begin by signing up for a WPChat account on their website. Follow the prompts to choose a plan that fits your needs. If you opt for WPChat Pro, it offers features for multiple agent support, color customization, and FAQs.
Once registered, navigate to the Plugins section of your WordPress admin dashboard, click Add New, and search for "WPChat." Install and activate the plugin to begin configuration.
Step 2: Setting Up the WPChat Plugin
Once activated, you will encounter the primary configuration page. Input your business phone number linked to your WhatsApp account, ensuring to include the correct country code. Additionally, you can select a theme for the chat button that suits your brand style.
You can choose to display the button on all pages or keep it hidden until finalized.
Step 3: Customizing Your Click-to-Chat WhatsApp Button
Next, navigate to the customization options for your chat widget. You can modify the widget’s colors, header messages, and even the icon according to your brand.
A welcoming header message encourages visitors to start using the chat function, setting a friendly tone right from the start. Consider something inviting, like "We’re here to help!"
Finally, choose an assistant avatar that personalizes the chat experience. Once you’re satisfied with your choices, make sure to save your settings.
Step 4: Configuring the WhatsApp Button Visibility Settings
To control where the chat button appears, navigate to the Visibility settings in WPChat. You can set it to be visible only on specific pages, such as product or service pages, ensuring it shows up where visitors might have the most questions.
Step 5: Adding Chat Agents
Next, you can set up agents within the plugin to manage incoming messages. Each agent can have their profile, including a picture and their individual messaging channels if applicable. This feature gives a personal touch and lets visitors know whom they are chatting with.
You can also configure availability, ensuring chats are routed to available agents based on their working hours.
Optional: Adding FAQs to the Chat Widget
For an even more efficient experience, consider adding an FAQ section to your widget. This can help visitors find quick answers, minimizing the need for immediate responses. Simply add common questions and answers via the Frequent Questions section in WPChat.
When all steps are complete, your WhatsApp widget will be ready to support conversations with your visitors, enhancing communication and engagement on your site.
Overall, incorporating a WhatsApp chat option can significantly improve how you connect with your audience, leading to increased engagement and satisfaction.
Welcome to DediRock, your trusted partner in high-performance hosting solutions. At DediRock, we specialize in providing dedicated servers, VPS hosting, and cloud services tailored to meet the unique needs of businesses and individuals alike. Our mission is to deliver reliable, scalable, and secure hosting solutions that empower our clients to achieve their digital goals. With a commitment to exceptional customer support, cutting-edge technology, and robust infrastructure, DediRock stands out as a leader in the hosting industry. Join us and experience the difference that dedicated service and unwavering reliability can make for your online presence. Launch our website.