
Setting Up and Using GNOME or KDE on CentOS Servers
A graphical interface can make server management much easier, especially for users who are not comfortable with the command line. Two of the most popular desktop environments for Linux are GNOME and KDE. In this tutorial, we’ll guide you through setting up and using these desktop environments on a CentOS server.
Why Use GNOME or KDE on CentOS?
GNOME:
-
Modern Interface: GNOME offers a sleek and minimalistic design.
-
User-Friendly: Simplifies navigation for those accustomed to graphical interfaces.
KDE:
-
Customizable: KDE allows extensive customization of themes, widgets, and layouts.
-
Feature-Rich: Includes advanced tools for power users.
Prerequisites
-
A CentOS server with root access.
-
A non-root user with
sudoprivileges. -
A stable internet connection.
Step-by-Step Guide
Step 1: Update Your System
Before installing any software, ensure your system is up-to-date.
sudo yum update -y
Step 2: Install GNOME or KDE
Installing GNOME:
GNOME is the default desktop environment for CentOS.
sudo yum groupinstall "GNOME Desktop" -y
Set GNOME as the default target:
sudo systemctl set-default graphical.target
Start the graphical interface:
sudo systemctl start graphical.target
Installing KDE:
KDE is available as an optional desktop environment.
sudo yum groupinstall "KDE Plasma Workspaces" -y
Set KDE as the default target:
sudo systemctl set-default graphical.target
Start the graphical interface:
sudo systemctl start graphical.target
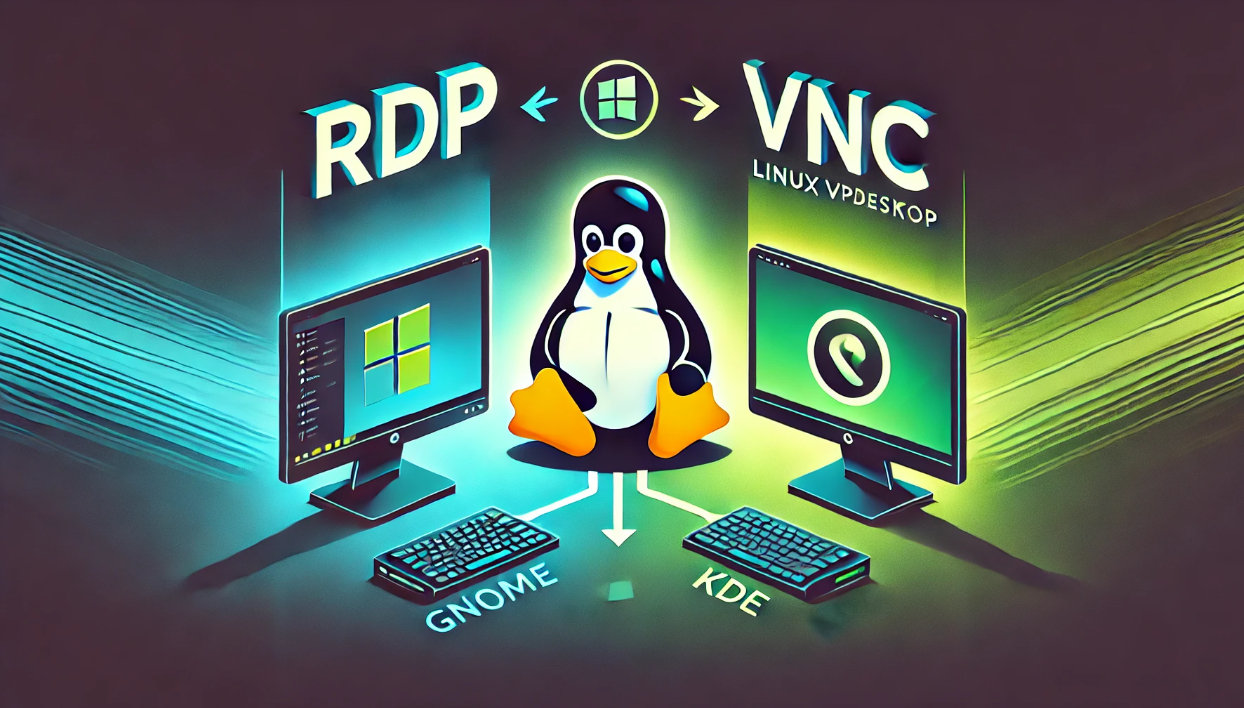
Step 3: Configure Remote Access
Enable RDP (Remote Desktop Protocol):
Install and configure XRDP to access the GUI remotely.
					sudo yum install xrdp -y
sudo systemctl enable xrdp
sudo systemctl start xrdp
sudo firewall-cmd --add-port=3389/tcp --permanent
sudo firewall-cmd --reload
Enable VNC (Virtual Network Computing):
Install and configure VNC for remote desktop access.
					sudo yum install tigervnc-server -y
sudo systemctl enable vncserver@:1.service
sudo systemctl start vncserver@:1.service
Step 4: Connect to Your CentOS Server
Using RDP:
-
On Windows, use Remote Desktop Connection.
-
On Linux, use an RDP client like Remmina.
Using VNC:
-
Use a VNC viewer (e.g., TigerVNC Viewer) to connect.
-
Enter the server’s IP and port (e.g.,
192.168.1.100:5901).
Conclusion
With GNOME or KDE installed on your CentOS server, you now have a powerful graphical environment for easier management. Choose RDP or VNC based on your needs for remote access. Both protocols allow you to leverage the GUI effectively.