
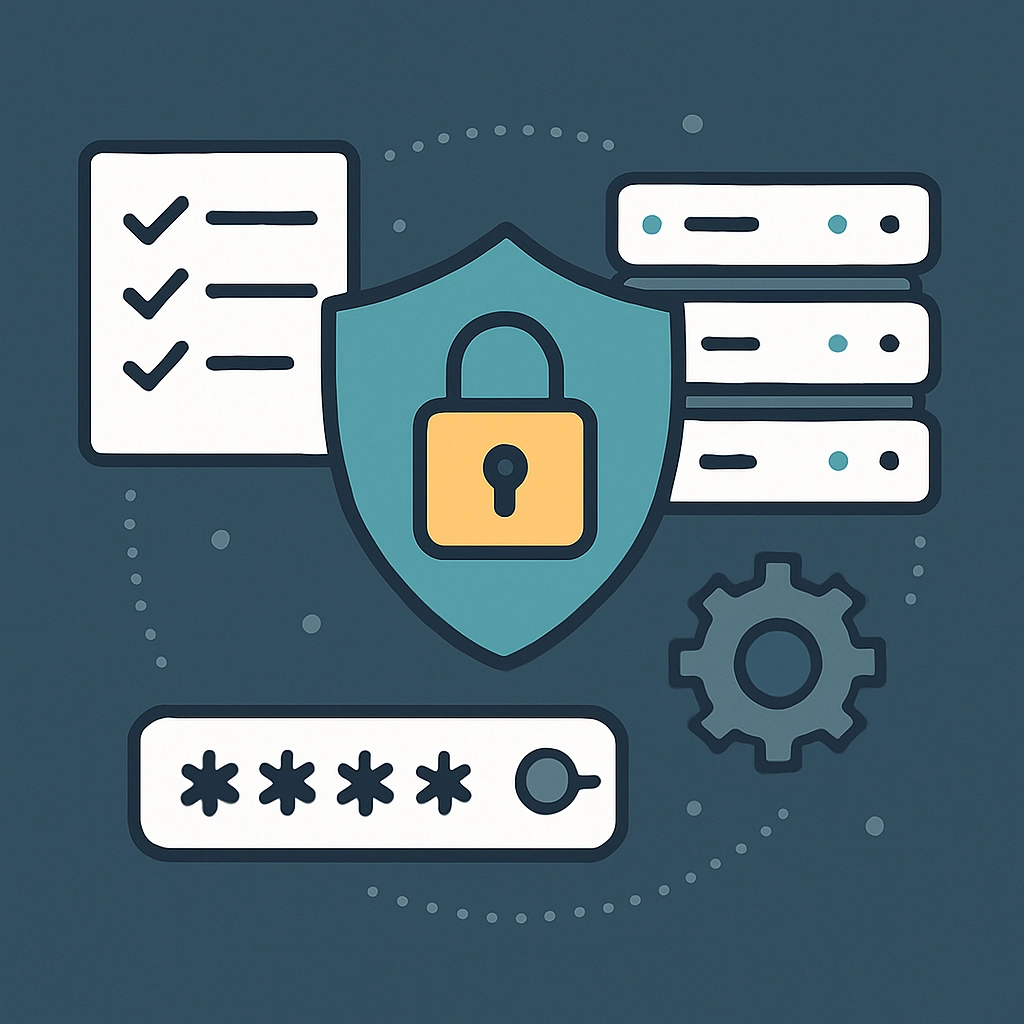
How to Create a Security Protocol for Your VPS
In today’s digital world, having a Virtual Private Server (VPS) can feel like having your own little slice of the internet, complete with freedom and flexibility. However, not implementing the correct security protocols can leave your cherished space vulnerable to threats. Whether you’re managing a personal project or a growing business, taking the time to outline a robust security strategy is absolutely worth it. Let’s dive into some practical steps you can take to create a solid security protocol for your VPS.
1. Choose a Reputable VPS Provider
The first step in your security journey begins with choosing a reliable VPS provider. Opt for one that has a good reputation for security features. Look for things like DDOS protection, frequent security updates, and customer support. A good VPS provider will give you peace of mind that they’re looking out for your server’s security from their end.
2. Keep Your Software Updated
Staying on top of software updates is one of the easiest yet most effective ways to keep your VPS secure. This includes not only the Operating System but also any applications and services you have installed. Many compromises happen because of unpatched vulnerabilities, so make it a habit to frequently check for and apply updates. If you can, automate this process. Your future self will thank you for the time saved!
3. Implement SSH Keys for Authentication
Password-based authentication may seem convenient, but it can also be a major security risk. Opt for SSH keys instead; they provide a much stronger form of authentication. When setting this up, generate an SSH key pair on your local machine and add the public key to your server. This means that only someone with access to your private key can log in, making it much harder for attackers to gain access.
4. Use a Firewall
A firewall adds a vital layer of defense by controlling traffic to and from your VPS. You can use a software firewall like iptables or ufw (Uncomplicated Firewall) to block unwanted access. Configure the firewall to allow only essential ports and services, such as SSH (port 22) and web traffic (ports 80/443). This will minimize the entry points for potential attackers.
5. Secure Your Applications
If your VPS is running applications like content management systems or databases, make sure to secure them as well. Follow security best practices tailored to those specific applications. For instance, if you’re using WordPress, install security plugins that help with threat detection and regular backups. Keeping your applications updated alongside maintaining security protocols is key!
6. Regular Backups Are a Must
Backing up your data might seem annoying, but it’s like your safety net in case of an unforeseen incident. Schedule regular backups, either daily or weekly, depending on how frequently your data changes. Store these backups in a separate location, preferably with another provider or cloud storage, to ensure you can quickly recover your data if something goes awry.
7. Monitor Access Logs
Keeping an eye on your access logs can help you quickly detect suspicious activity. Set up monitoring tools or services that alert you of unusual login attempts or other activities that might indicate an attack. This proactive approach allows you to respond before a small issue escalates into a full-blown breach.
8. Limit User Access
If others need access to your VPS, it’s essential to grant permissions carefully. Only give users the access level they absolutely need. Consider using role-based access control (RBAC) to assign permissions and keep track of what users can do on your server. This limits exposure and minimizes the risk of malicious actions.
9. Disable Root Login
By allowing direct root access, you might be opening up your server to potential attacks. To enhance security, disable remote root login and create a user with limited privileges to perform administrative tasks. This additional step adds an extra layer of security and makes it harder for attackers to compromise your server.
10. Install Security Tools
Finally, consider installing security tools like fail2ban, which protects against brute-force attacks, or intrusion detection systems (IDS). These tools can automatically take action on suspicious activities and can serve as an additional pair of vigilant eyes on your server.
Creating a security protocol for your VPS doesn’t have to be overwhelming. By taking these steps and regularly revisiting your security measures, you’ll significantly reduce vulnerabilities and create a safer environment for your projects. Ultimately, securing your VPS is not just about protecting your server, but also about safeguarding your personal and business data. So roll up your sleeves and get to work—your digital fortress awaits!
Welcome to DediRock, your trusted partner in high-performance hosting solutions. At DediRock, we specialize in providing dedicated servers, VPS hosting, and cloud services tailored to meet the unique needs of businesses and individuals alike. Our mission is to deliver reliable, scalable, and secure hosting solutions that empower our clients to achieve their digital goals. With a commitment to exceptional customer support, cutting-edge technology, and robust infrastructure, DediRock stands out as a leader in the hosting industry. Join us and experience the difference that dedicated service and unwavering reliability can make for your online presence. Launch our website.