
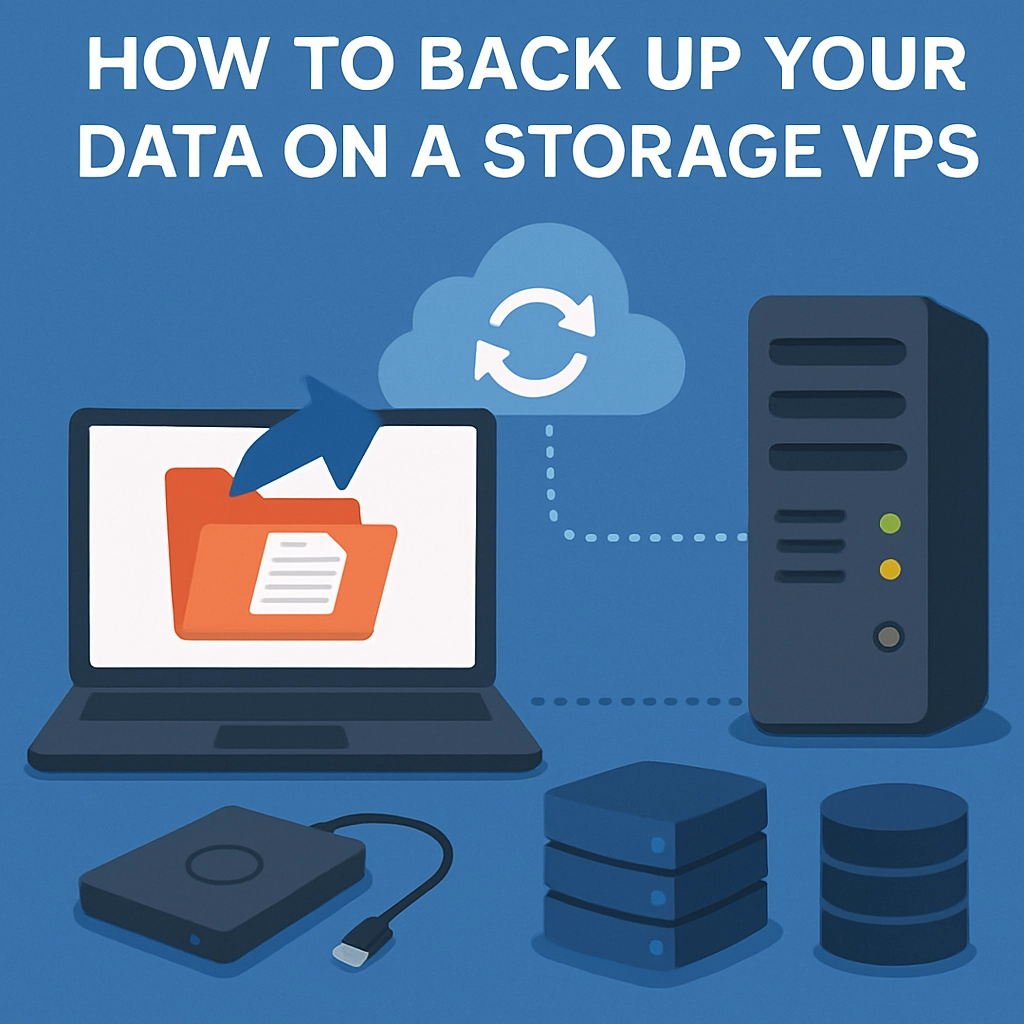
How to Back Up Your Data on a Storage VPS
In today’s digital landscape, data is everything. Whether you’re running a small business, managing a blog, or simply storing personal memories, losing that data can be a nightmare. That’s where the joy and utility of a Storage Virtual Private Server (VPS) come into play. Not only do they offer a secure space for your files, but they can also be an excellent option for backing up your data. In this guide, we’ll explore how to effectively back up your data on a Storage VPS so that you can rest easy knowing your information is safe.
What is a Storage VPS?
Before we dive deep into the backup process, let’s clarify what a Storage VPS actually is. A Storage VPS is a virtual private server that focuses primarily on storage capabilities. It usually comes with a larger amount of disk space than a standard VPS, making it an ideal choice for businesses or individuals who need to store large amounts of data without compromising security or performance.
Why Back Up Your Data?
Backing up your data isn’t just a “nice-to-have” – it’s crucial. Imagine spending months writing a novel, only to accidentally delete the file or face a sudden hardware failure. A good backup strategy can save your days, weeks, or even years of hard work. Additionally, with the rise of cyber threats like ransomware, having a robust backup system is more important than ever.
Getting Started with Backing Up Your Data
1. Choose Your Backup Method
When it comes to backing up your data on a Storage VPS, you have several methods at your disposal. Here are a few popular options:
-
Manual Backup: This involves copying files from your device to your VPS using an FTP/SFTP client. It’s straightforward but can be time-consuming if done regularly.
-
Automated Backup Tools: Various software solutions allow you to automate your backup process. This is a more efficient way to ensure your files are regularly updated without requiring manual intervention. Tools such as rsync, Duplicati, or Rclone can be quite handy.
-
Cloud Syncing: If you want a backup strategy that offers an extra layer of reliability, consider syncing your VPS data with a cloud service. Services like Dropbox, Google Drive, or Backblaze can provide redundancy.
2. Set Up Your Storage VPS
Before you can start backing up your data, you need to set up your Storage VPS. Most reputable VPS providers offer user-friendly interfaces for managing your account. Here’s a quick primer on the steps to set up your VPS:
- Select a provider that meets your storage needs and budget (take a look at DigitalOcean, Linode, or Vultr).
- Configure your server, ensuring that you choose the correct specifications regarding storage size, operating system, and data center location.
- Secure your VPS by setting up a firewall and creating strong, unique passwords to protect your data from unauthorized access.
3. Transfer Your Data
Once your VPS is set up, it’s time to transfer your data. If you’re using a manual method, you can connect to your VPS using an FTP/SFTP client like FileZilla:
- Open the client and input your VPS’s hostname, username, and password.
- Navigate to the location on your local machine where your files are stored.
- Drag and drop your files into the desired directory on your VPS.
If you’re using automated methods, follow the documentation provided by your chosen software to set up schedules and paths for data transfer.
4. Schedule Regular Backups
Regular backups should be a fundamental part of your data management plan. For automated tools, this often involves setting specific times and intervals for backups to occur. For example, you might schedule daily incremental backups and a full weekly backup. This ensures you always have a recent copy of your data without needing to do all the heavy lifting yourself.
5. Test Your Backups
After backing up your data, it’s incredibly important to test the backup process. This will help ensure that your files are truly safe and recoverable. Try restoring a few files to confirm everything works smoothly. It might seem tedious, but nothing beats the peace of mind it brings.
Wrapping It Up
Backing up your data on a Storage VPS may seem daunting at first, but with a little planning and some straightforward steps, it can become a seamless part of your routine. Remember, the goal is to safeguard your valuable data against loss due to accidents, cyber threats, or hardware failures. The right backup strategy empowers you to manage your data more effectively, ensuring that you’re prepared for anything that comes your way. So why wait? Start backing up today, and enjoy the freedom that comes with knowing your data is secure!
Welcome to DediRock, your trusted partner in high-performance hosting solutions. At DediRock, we specialize in providing dedicated servers, VPS hosting, and cloud services tailored to meet the unique needs of businesses and individuals alike. Our mission is to deliver reliable, scalable, and secure hosting solutions that empower our clients to achieve their digital goals. With a commitment to exceptional customer support, cutting-edge technology, and robust infrastructure, DediRock stands out as a leader in the hosting industry. Join us and experience the difference that dedicated service and unwavering reliability can make for your online presence. Launch our website.