
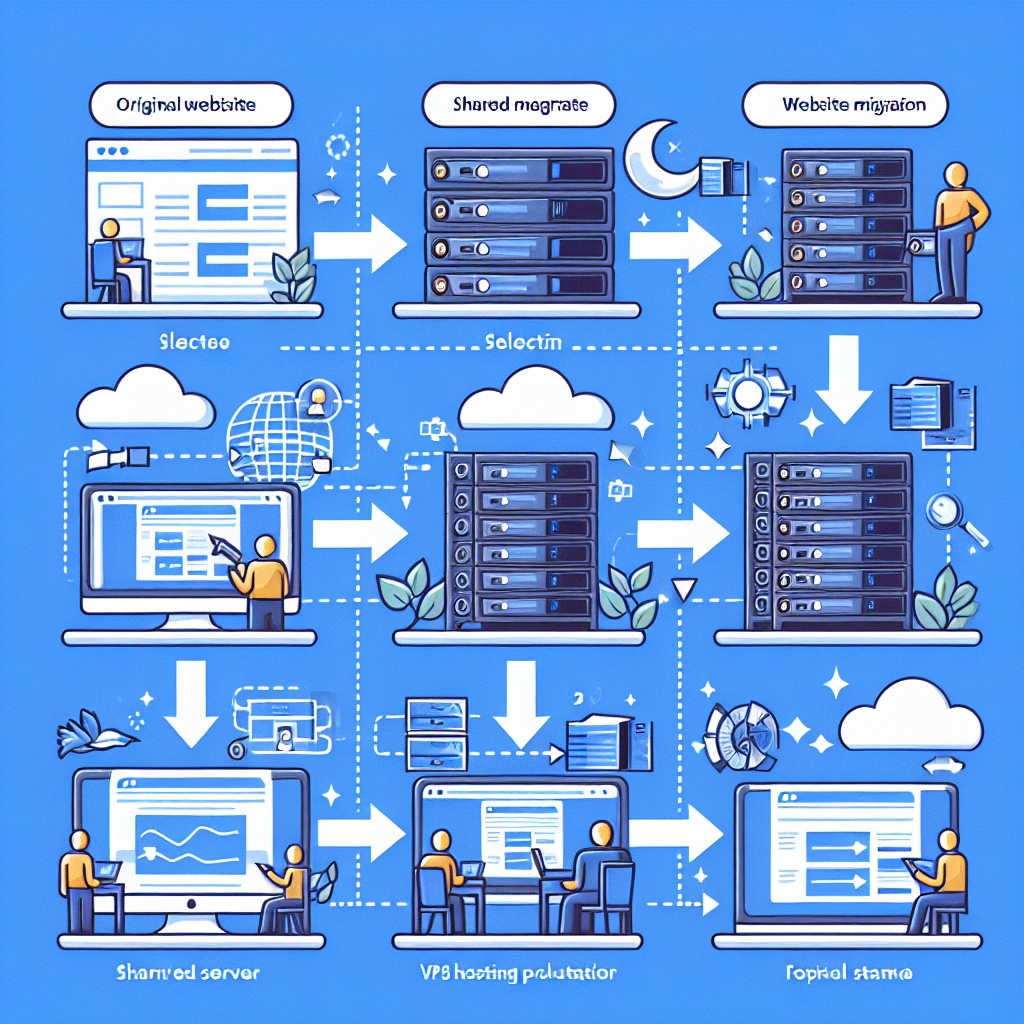
How to Migrate Your Website to a VPS Hosting Solution
So, you’ve decided to make the leap from shared hosting to a Virtual Private Server (VPS) solution—good choice! Migrating to a VPS can enhance your website’s performance, speed, and reliability, giving you the flexibility that shared hosting simply can’t provide. But before you rush into your migration, let’s break down the steps you’ll need to follow to ensure a smooth transition.
Why Choose a VPS?
Before we dive into the nitty-gritty of migration, let’s quickly touch on why you’d want to switch to a VPS. With VPS hosting, you’re essentially enjoying the best of both worlds: the cost-effectiveness of shared hosting with the dedicated resources found in dedicated hosting. This means better performance, enhanced security, and the ability to install custom software or configurations without interference from other users.
Pre-Migration Checklist
-
Backup Everything: This is non-negotiable. Before making any changes, back up your entire website. This includes files, databases, emails—everything you deem important. Use both local and cloud backups for extra security.
-
Choose Your VPS Provider: Don’t rush this step! Research various VPS providers based on factors like price, performance, customer support, and scalability. Look for user reviews and recommendations to find a host that suits your needs.
-
Select Your VPS Configuration: Once you’ve found your VPS provider, you’ll need to configure your server based on your website’s requirements. Be sure to consider factors such as RAM, storage, and bandwidth.
-
Set Up Your Server: After choosing your VPS, you’ll typically receive access credentials. Log in and set up your environment. Depending on your familiarity with server management, you might choose a control panel like cPanel, Plesk, or Webmin to make things easier.
The Migration Process
Now that you have everything in place, it’s time to migrate. Here’s a simple step-by-step guide to help you get your site up and running on your new VPS.
Step 1: Transfer Files
You can use FTP (File Transfer Protocol) or SSH (Secure Shell) to transfer your files. If you’re transferring via FTP, you can download an FTP client like FileZilla or use command-line tools if you’re comfortable. Connect to your old host and download your website files, then connect to your VPS and upload the files there.
Step 2: Transfer the Database
If your site relies on a database (like MySQL), you’ll need to export it from the old server and import it to your VPS. Here’s how:
- Export: Use a tool like phpMyAdmin to export your database. This often results in an SQL file that contains all your database information.
- Import: You can then create a new database on your VPS and import the SQL file using phpMyAdmin or command-line tools like MySQL command line.
Step 3: Update Configuration Files
After transferring the files and database, you might need to update your configuration files (like wp-config.php for WordPress) to reflect the new database details: database name, username, password, and host.
Step 4: Update Domain Settings
Once everything is uploaded and configured, it’s time to point your domain to the new VPS. This usually involves updating your Domain Name System (DNS) settings. Be sure to allow some time for these changes to propagate.
Step 5: Test Your Site
Before announcing to the world that you’ve officially moved, do some testing. Access your site from several different devices and browsers, and ensure everything is functioning as it should.
Step 6: Monitor Your Site
After migration, monitor your website closely for a few days. Look for performance issues, errors, or anything that looks out of place. Check logs for any server errors and resolve them promptly.
Post-Migration Considerations
Once you’ve settled into your new VPS hosting environment, consider implementing some best practices to keep your site running smoothly. Regularly update your software—whether it’s your website’s CMS, plugins, or server software. Additionally, setting up security protocols like firewalls, malware scanning, and regular backups can save you from potential headaches in the future.
Migrating your website to a VPS may seem daunting at first, but taking it step-by-step will make the process manageable. Celebrate your successful migration! With a VPS under your belt, you’re now better equipped to handle traffic spikes and enjoy a more responsive, reliable website. Here’s to smoother sailing ahead!
Welcome to DediRock, your trusted partner in high-performance hosting solutions. At DediRock, we specialize in providing dedicated servers, VPS hosting, and cloud services tailored to meet the unique needs of businesses and individuals alike. Our mission is to deliver reliable, scalable, and secure hosting solutions that empower our clients to achieve their digital goals. With a commitment to exceptional customer support, cutting-edge technology, and robust infrastructure, DediRock stands out as a leader in the hosting industry. Join us and experience the difference that dedicated service and unwavering reliability can make for your online presence. Launch our website.