
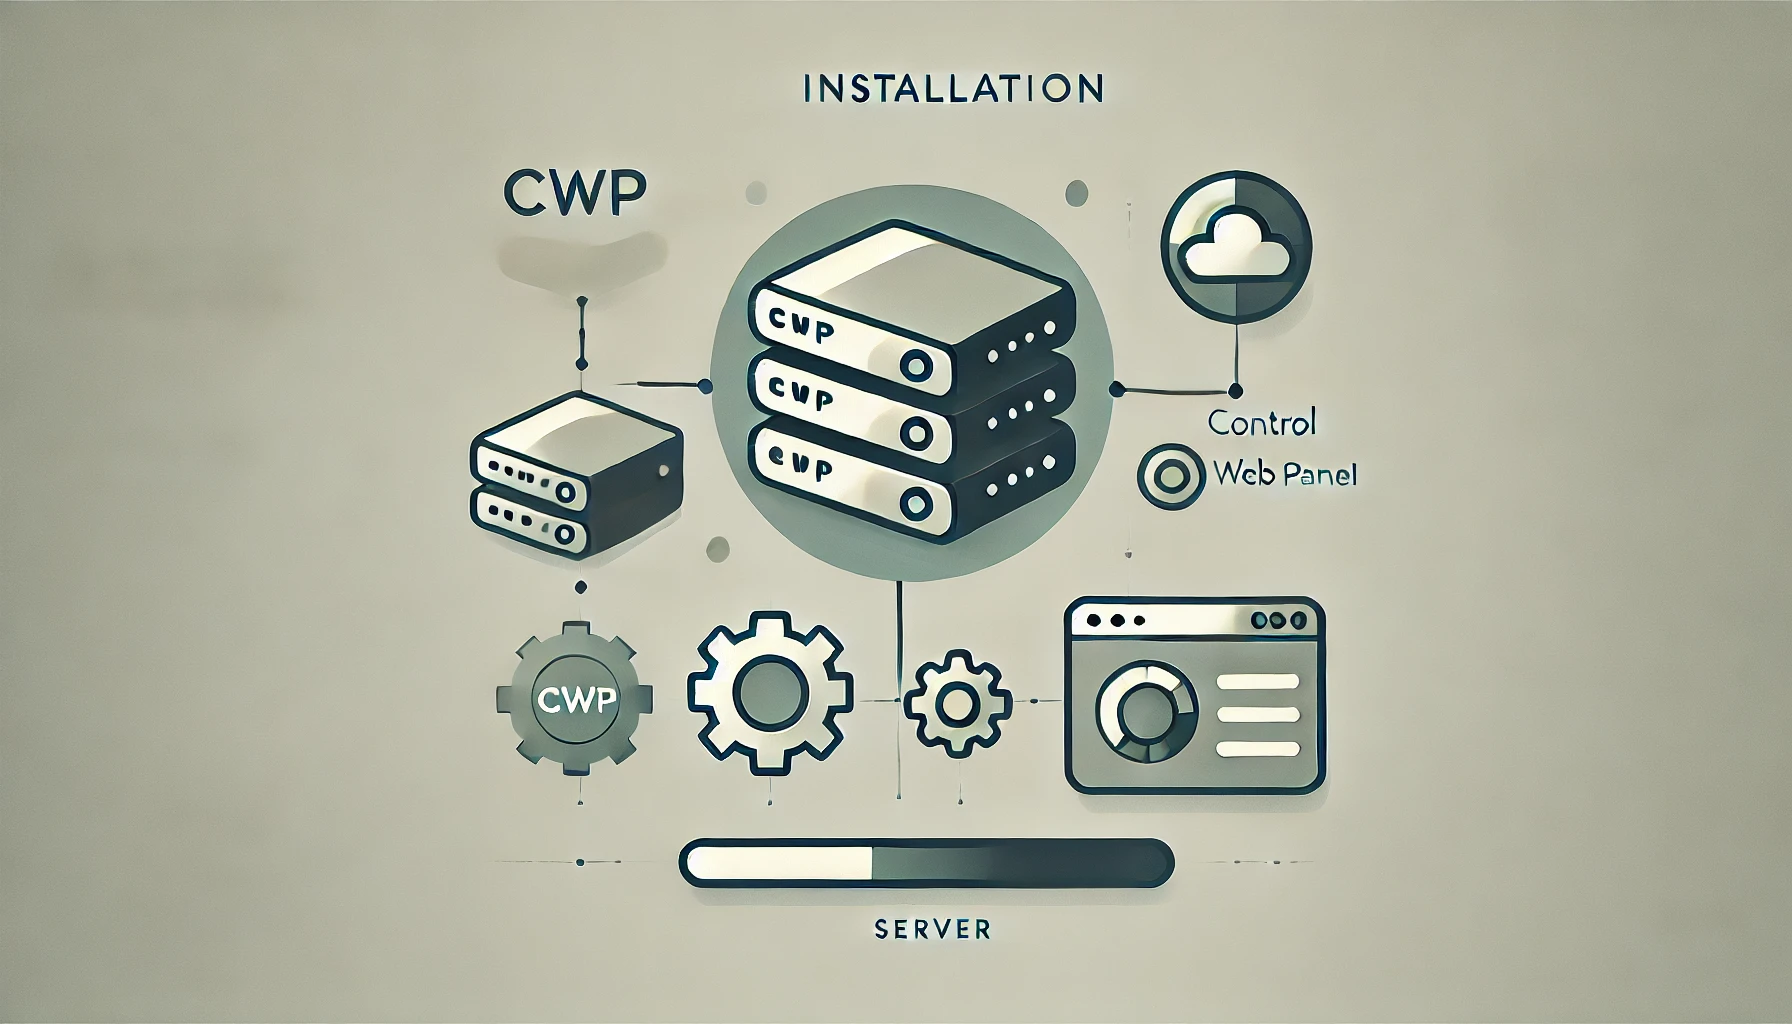
Control Web Panel (CWP) is a powerful, free alternative to cPanel that simplifies server management, offering an intuitive interface and a wide array of features. This guide will walk you through the installation process of CWP on a Linux VPS, enabling you to streamline tasks like managing domains, databases, and email services on your server.
Prerequisites
To install CWP, you’ll need:
- A VPS running CentOS 7 or CentOS 8 (CWP only supports CentOS for now).
- Root access to your server.
Note: CWP cannot be uninstalled, so installing it requires a fresh server setup. If you have existing data, it’s recommended to back it up first.
Step 1: Update Your Server
Before beginning, update your server packages to ensure everything is up-to-date.
sudo yum update -y
Step 2: Set Your Hostname
CWP requires a fully qualified domain name (FQDN) as the hostname. Set a hostname with the following command:
sudo hostnamectl set-hostname server.yourdomain.com
Replace server.yourdomain.com with your actual domain name or a subdomain.
To verify the hostname, use:
hostnamectl
Step 3: Install Control Web Panel
Now that your server is prepared, download the CWP installer script.
					cd /usr/local/src
wget http://centos-webpanel.com/cwp-el7-latest
Change file permissions to make the script executable:
chmod +x cwp-el7-latest
Run the installer script:
sudo sh cwp-el7-latest
The installation will take several minutes, during which CWP installs necessary packages and configures your server. When complete, CWP will provide you with the URL and login credentials for the admin panel.
Note: After installation, the server will reboot automatically to complete the setup.
Step 4: Accessing the CWP Admin Panel
After your server reboots, access the CWP admin panel via your browser.
Open your browser and enter the URL provided during installation, typically:
http://your-server-IP:2030
Log in with the default credentials provided, or use the following:
- Username:
root - Password: (your server root password)
Step 5: Complete Initial Configuration
Once logged into CWP, you’ll be prompted to complete the initial setup:
- Server Settings: Configure your server’s time zone and additional hostname details.
- Email Notifications: Set up an admin email address to receive system notifications and alerts.
- Nameserver Configuration: Customize DNS and nameservers, especially if you plan to host domains on the server.
- Security Setup: Enable the firewall and configure SSH settings for enhanced security.
Step 6: Configuring CWP for Server Management
Now that CWP is installed, you can start configuring it for various management tasks.
- Add New Domains: In the left panel, go to Domains > Add a Domain to add domains you wish to manage on your server.
- Email Accounts: Use Email > Email Accounts to set up email addresses for your domains.
- Database Management: Use SQL Services > MySQL Manager to create and manage databases for your websites and applications.
- File Manager: The built-in file manager enables you to upload, edit, and organize files on your server without the need for FTP.
Step 7: Securing Your CWP Installation
To keep your server secure, follow these tips:
- Change the Admin Panel Port: Under Security Center > CSF Firewall, change the CWP admin panel port from 2030 to a custom port.
- Enable Firewall Protection: CWP has a built-in firewall (CSF) that you can enable under Security Center > CSF Firewall to block unwanted access.
- Use Strong Passwords: Ensure that all accounts and services on your server have strong, unique passwords.
With Control Web Panel (CWP), you now have a powerful, free alternative to cPanel that makes managing your server much simpler. From domain and email management to database and file organization, CWP provides you with essential tools for server administration without needing extensive command-line knowledge.
By following this guide, you should have CWP up and running on your Linux VPS, ready to simplify your server management tasks.