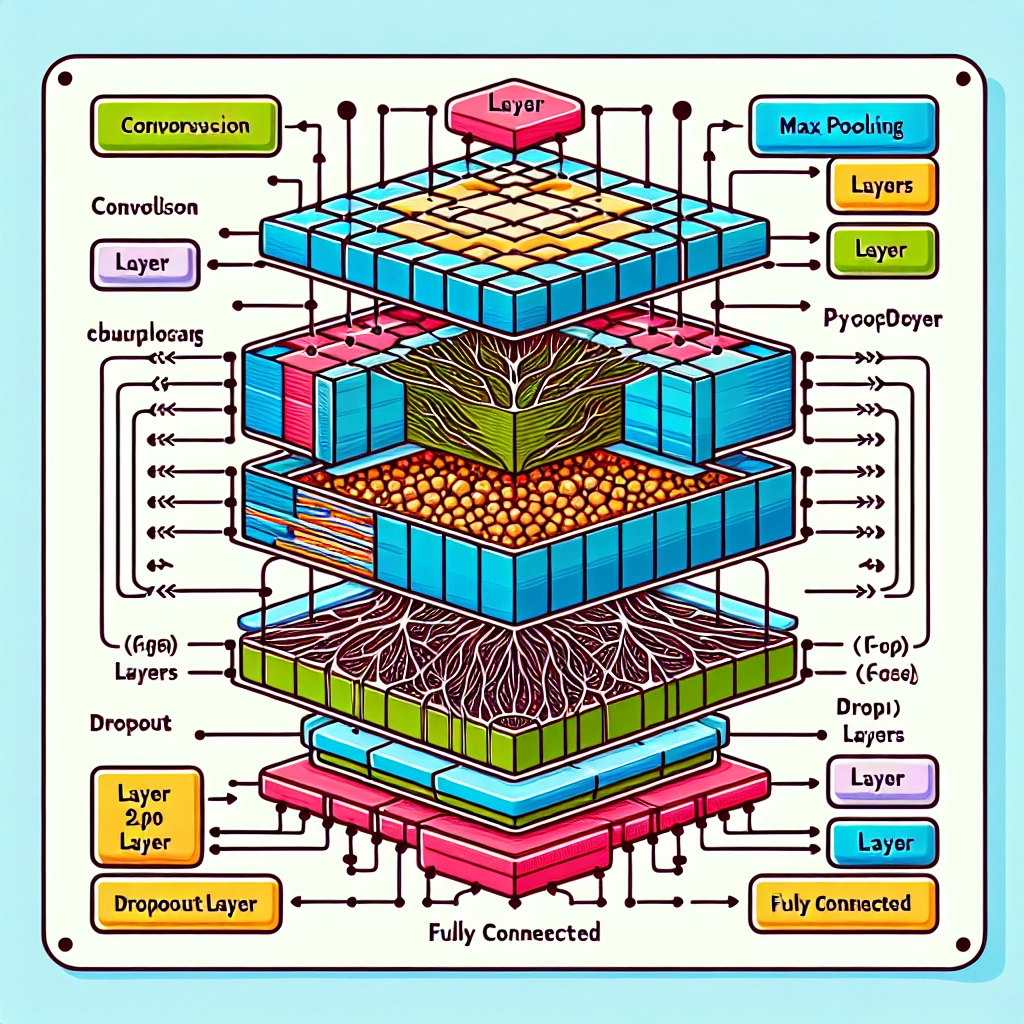
This article continues our tutorial series on implementing popular convolutional neural networks (CNNs) using PyTorch. Following our previous installation that covered LeNet5, we now shift our focus to a pivotal architecture in computer vision: AlexNet.
To begin, we’ll explore the components and innovations that define AlexNet’s architecture. Next, we’ll load the CIFAR-10 dataset and perform essential preprocessing steps before transitioning into the actual process of constructing AlexNet from scratch in PyTorch. Finally, we will assess our trained model’s performance on unseen data.
Prerequisites
A solid understanding of neural networks is beneficial for this tutorial, including knowledge of layers, activation functions, optimization algorithms, and loss functions. Familiarity with Python syntax and basic PyTorch library usage is also essential. Understanding CNN concepts like convolutional layers, pooling layers, stride, padding, and kernel sizes will further aid in grasping the material.
AlexNet
Introduced by Alex Krizhevsky and his team in 2012 for the ImageNet competition, AlexNet earned recognition for its groundbreaking performance in image classification. It processes 3-channel images of size 224×224 and employs max pooling and ReLU activations during subsampling. The model classifies images into 1000 categories and utilizes multiple GPUs for training.
Dataset
We will utilize the CIFAR-10 dataset for this tutorial, composed of 60,000 color images distributed across 10 classes, with each class containing 6,000 images. CIFAR-10 includes 50,000 training images and 10,000 test images.
Importing Libraries
We begin by importing essential libraries and specifying the device for GPU usage if available.
import numpy as npimport torchimport torch.nn as nnfrom torchvision import datasets, transformsfrom torch.utils.data.sampler import SubsetRandomSampler# Device configurationdevice = torch.device('cuda' if torch.cuda.is_available() else 'cpu')Loading the Dataset
Using torchvision, we’ll load the CIFAR-10 dataset and define transformations for preprocessing. The following functions will help in loading our training, validation, and test sets.
def get_train_valid_loader(data_dir, batch_size, augment, random_seed, valid_size=0.1, shuffle=True): # Normalization normalize = transforms.Normalize(mean=[0.4914, 0.4822, 0.4465], std=[0.2023, 0.1994, 0.2010]) # Define data transformations valid_transform = transforms.Compose([ transforms.Resize((227, 227)), transforms.ToTensor(), normalize, ]) if augment: train_transform = transforms.Compose([ transforms.RandomCrop(32, padding=4), transforms.RandomHorizontalFlip(), transforms.ToTensor(), normalize, ]) else: train_transform = transforms.Compose([ transforms.Resize((227, 227)), transforms.ToTensor(), normalize, ]) # Load datasets train_dataset = datasets.CIFAR10(root=data_dir, train=True, download=True, transform=train_transform) valid_dataset = datasets.CIFAR10(root=data_dir, train=True, download=True, transform=valid_transform) # Train/Validation split num_train = len(train_dataset) indices = list(range(num_train)) split = int(np.floor(valid_size * num_train)) if shuffle: np.random.seed(random_seed) np.random.shuffle(indices) train_idx, valid_idx = indices[split:], indices[:split] train_loader = torch.utils.data.DataLoader(train_dataset, batch_size=batch_size, sampler=SubsetRandomSampler(train_idx)) valid_loader = torch.utils.data.DataLoader(valid_dataset, batch_size=batch_size, sampler=SubsetRandomSampler(valid_idx)) return train_loader, valid_loaderdef get_test_loader(data_dir, batch_size, shuffle=True): normalize = transforms.Normalize(mean=[0.485, 0.456, 0.406], std=[0.229, 0.224, 0.225]) # Define transform transform = transforms.Compose([ transforms.Resize((227, 227)), transforms.ToTensor(), normalize, ]) # Load the dataset dataset = datasets.CIFAR10(root=data_dir, train=False, download=True, transform=transform) data_loader = torch.utils.data.DataLoader(dataset, batch_size=batch_size, shuffle=shuffle) return data_loadertrain_loader, valid_loader = get_train_valid_loader('./data', batch_size=64, augment=False, random_seed=1)test_loader = get_test_loader('./data', batch_size=64)Implementing AlexNet
Now we can construct the AlexNet model in PyTorch.
class AlexNet(nn.Module): def __init__(self, num_classes=10): super(AlexNet, self).__init__() self.layer1 = nn.Sequential( nn.Conv2d(3, 96, kernel_size=11, stride=4), nn.BatchNorm2d(96), nn.ReLU(inplace=True), nn.MaxPool2d(kernel_size=3, stride=2) ) self.layer2 = nn.Sequential( nn.Conv2d(96, 256, kernel_size=5, padding=2), nn.BatchNorm2d(256), nn.ReLU(inplace=True), nn.MaxPool2d(kernel_size=3, stride=2) ) self.layer3 = nn.Sequential( nn.Conv2d(256, 384, kernel_size=3, padding=1), nn.BatchNorm2d(384), nn.ReLU(inplace=True) ) self.layer4 = nn.Sequential( nn.Conv2d(384, 384, kernel_size=3, padding=1), nn.BatchNorm2d(384), nn.ReLU(inplace=True) ) self.layer5 = nn.Sequential( nn.Conv2d(384, 256, kernel_size=3, padding=1), nn.BatchNorm2d(256), nn.ReLU(inplace=True), nn.MaxPool2d(kernel_size=3, stride=2) ) self.fc = nn.Sequential( nn.Dropout(), nn.Linear(9216, 4096), nn.ReLU(inplace=True) ) self.fc1 = nn.Sequential( nn.Dropout(), nn.Linear(4096, 4096), nn.ReLU(inplace=True) ) self.fc2 = nn.Linear(4096, num_classes) def forward(self, x): out = self.layer1(x) out = self.layer2(out) out = self.layer3(out) out = self.layer4(out) out = self.layer5(out) out = out.view(out.size(0), -1) out = self.fc(out) out = self.fc1(out) out = self.fc2(out) return outSetting Hyperparameters
Before training, hyperparameters such as the loss function, optimizer, batch size, learning rate, and number of epochs must be set.
num_classes = 10num_epochs = 20batch_size = 64learning_rate = 0.005model = AlexNet(num_classes).to(device)# Define the loss function and optimizercriterion = nn.CrossEntropyLoss()optimizer = torch.optim.SGD(model.parameters(), lr=learning_rate, weight_decay=0.005, momentum=0.9)Training the Model
With our model set, we can now proceed to training:
total_step = len(train_loader)for epoch in range(num_epochs): for i, (images, labels) in enumerate(train_loader): images = images.to(device) labels = labels.to(device) # Forward pass outputs = model(images) loss = criterion(outputs, labels) # Backward and optimize optimizer.zero_grad() loss.backward() optimizer.step() print(f'Epoch [{epoch + 1}/{num_epochs}], Step [{i + 1}/{total_step}], Loss: {loss.item():.4f}') # Validation with torch.no_grad(): correct = 0 total = 0 for images, labels in valid_loader: images = images.to(device) labels = labels.to(device) outputs = model(images) _, predicted = torch.max(outputs.data, 1) total += labels.size(0) correct += (predicted == labels).sum().item() print(f'Accuracy of the network on the validation images: {100 * correct / total:.2f} %')Testing the Model
To evaluate our model on unseen data from the test loader:
with torch.no_grad(): correct = 0 total = 0 for images, labels in test_loader: images = images.to(device) labels = labels.to(device) outputs = model(images) _, predicted = torch.max(outputs.data, 1) total += labels.size(0) correct += (predicted == labels).sum().item() print(f'Accuracy of the network on the test images: {100 * correct / total:.2f} %')Conclusion
In summary, we began with an examination of the AlexNet architecture and its components, followed by loading and preprocessing the CIFAR-10 dataset. We then implemented AlexNet from scratch using PyTorch and successfully trained the model with promising results on unseen data. This exercise demonstrated not only the relevance of classic models such as AlexNet in modern applications, but also offered practical experience in building a deep learning model with hands-on coding in PyTorch.
Future enhancements could include tuning hyperparameters for improved performance or implementing data augmentation strategies to strengthen the model further.
Welcome to DediRock, your trusted partner in high-performance hosting solutions. At DediRock, we specialize in providing dedicated servers, VPS hosting, and cloud services tailored to meet the unique needs of businesses and individuals alike. Our mission is to deliver reliable, scalable, and secure hosting solutions that empower our clients to achieve their digital goals. With a commitment to exceptional customer support, cutting-edge technology, and robust infrastructure, DediRock stands out as a leader in the hosting industry. Join us and experience the difference that dedicated service and unwavering reliability can make for your online presence. Launch our website.

