How To Install and Secure phpMyAdmin on AlmaLinux 9
phpMyAdmin is a free and open-source web-based database management tool written in PHP. It provides a convenient interface for managing MySQL or MariaDB databases. This guide will walk you through the steps to install and secure phpMyAdmin on AlmaLinux 9.
Prerequisites
- A server running AlmaLinux 9.
- A user with sudo privileges.
- LAMP stack (Linux, Apache, MySQL/MariaDB, PHP) installed and configured.
Step 1: Update Your System
Before starting, ensure your system is up-to-date:
sudo dnf update -y
sudo dnf upgrade -y
Step 2: Install EPEL Repository
phpMyAdmin is not available in the default AlmaLinux repositories. Therefore, you need to install the EPEL (Extra Packages for Enterprise Linux) repository:
sudo dnf install epel-release -y
Step 3: Install phpMyAdmin
Once the EPEL repository is enabled, you can install phpMyAdmin using the following command:
sudo dnf install phpmyadmin -y
Step 4: Configure Apache for phpMyAdmin
By default, the phpMyAdmin configuration file is located in /etc/httpd/conf.d/phpMyAdmin.conf. Open this file to configure Apache:
sudo nano /etc/httpd/conf.d/phpMyAdmin.conf
Within this file, you'll find the following directives restricting access to localhost:
<Directory /usr/share/phpMyAdmin/>
    AddDefaultCharset UTF-8
    <RequireAny>
        Require ip 127.0.0.1
        Require ip ::1
    </RequireAny>
</Directory>
If you want to access phpMyAdmin from a different IP address, add the IP address as follows:
<RequireAny>
    Require ip 127.0.0.1
    Require ip ::1
    Require ip your_server_ip
</RequireAny>
Save and close the file.
Step 5: Restart Apache
After configuring Apache, restart the service to apply the changes:
sudo systemctl restart httpd
Step 6: Secure phpMyAdmin
6.1 Configure Firewall
Ensure that your firewall allows HTTP and HTTPS traffic:
sudo firewall-cmd --permanent --add-service=http
sudo firewall-cmd --permanent --add-service=https
sudo firewall-cmd --reload
6.2 Secure phpMyAdmin Access with Apache Authentication
You can add an extra layer of security by setting up Apache authentication. First, create a password file using the htpasswd utility:
sudo dnf install httpd-tools -y
sudo htpasswd -c /etc/phpMyAdmin/.htpasswd your_username
Next, open the phpMyAdmin configuration file:
sudo nano /etc/httpd/conf.d/phpMyAdmin.conf
Add the following lines within the <Directory /usr/share/phpMyAdmin/> directive:
<Directory /usr/share/phpMyAdmin/>
    AuthType Basic
    AuthName "Restricted Access"
    AuthUserFile /etc/phpMyAdmin/.htpasswd
    Require valid-user
</Directory>
Save and close the file, then restart Apache:
sudo systemctl restart httpd
6.3 Enable HTTPS
It is highly recommended to access phpMyAdmin over HTTPS to encrypt the traffic between the server and clients. You can use Let’s Encrypt to obtain a free SSL certificate. First, install Certbot:
sudo dnf install certbot python3-certbot-apache -y
Then, obtain and install the certificate:
sudo certbot --apache
Follow the prompts to complete the installation.
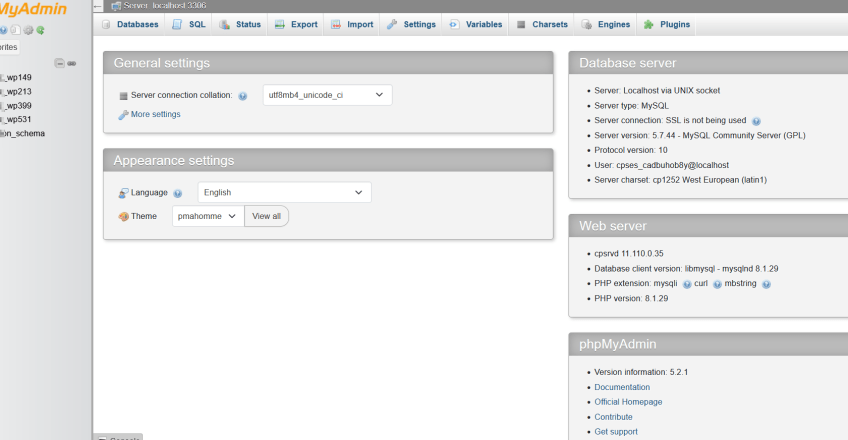
Step 7: Access phpMyAdmin
You can now access phpMyAdmin by navigating to http://your_server_ip/phpmyadmin in your web browser. You will be prompted for the Apache authentication credentials followed by the phpMyAdmin login screen.
Conclusion
You've successfully installed and secured phpMyAdmin on AlmaLinux 9. You now have a powerful tool for managing your MySQL or MariaDB databases through a web interface. Remember to keep your server and software updated to maintain security.